
Single Pole
Electrical Wall Switch Replacement Guide
How to replace a faulty single pole electric wall
switch for a light, fan, outlet, or appliance with photo illustrated
instructions.

 Light Switch On |
 Lights Flicker Off |
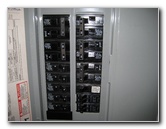 Circuit Breaker Box |
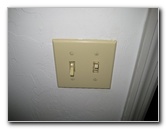
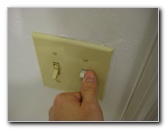
| This
bathroom light switch started to not function properly a few days
ago.
Some of the symptoms that the switch was worn out included that the light would sometimes flicker on and off at random and also the lights occasionally wouldn't turn on at all even when the switch was in the up "On" position. Luckily I had a spare single pole wall switch that was known to work well sitting in my household parts box. A new switch at Home Depot or Lowes can cost anywhere from $10 to $35 depending on the model and features. The tools needed to replace a household single pole electrical wall switch include a flathead screwdriver, a Phillips head screwdriver and a circuit tester or multimeter. A flash light is also useful if there is no natural light in the area. |
||
|
|
||
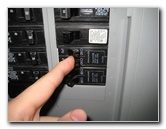 Turn Off Circuit Breaker |
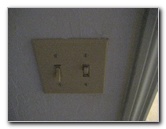
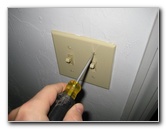 Remove Switch Wall Plate |
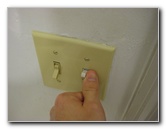
 Wall Plate Removed |
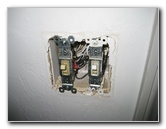
| The first step is
to turn off the circuit breaker for the wall switch you'll be replacing.
Verify that the power is turned off by flipping on and off any other wall switches in the same room or area of the home. Then remove the wall plate with a flathead or Phillips head screwdriver to reveal the single pole electrical switch or switches. |
||
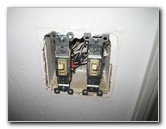
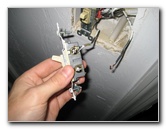
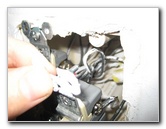
 Unscrew Single Pole Switch |
 Unscrew Power Connections |
 Old Switch Disconnected |
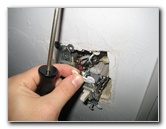
| Use the circuit
tester tool or a multimeter to double check that the electrical wires
attached to the side of the single pole wall switch are not live.
Do not continue unless you are 110% sure that the power to the wall switch has been turned off. |
||
|
|
||
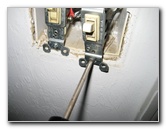
 Attach New Switch |
 Tighten Power Connections |
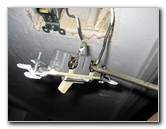 |
| Unscrew the two
Phillips head screws that hold the single pole wall switch to the switch
box. Pull the wall switch out of the box and loosen the two Phillips head terminal screws on the side that hold the wires in place. |
||
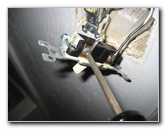
 Line Up Switch Screws |
 Tighten Switch Screws |
 New Switch Installed |
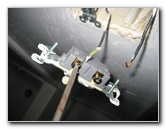
| Attach the two
power wires to the terminal screws on the new single pole wall switch and
insert the switch into the box. Tighten the two screws that hold the switch in the box. |
||
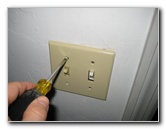 Re-Install Wall Plate |
 Test New Switch |
 |
| The last steps are
to re-attach the wall plate, turn on the circuit breaker(s), and test your
new wall switch. For more,
check out my
Home Repair & Maintenance Guides page. |
||
| If you found this guide to be helpful,
please consider making a small donation by clicking on the PayPal.com
"Donate" button located to the right of this paragraph. Thank you!
(Note: I am not a registered charity. Donations are not tax deductible.) |