Chevrolet
Tahoe A/C & Serpentine Belts Replacement Guide
How to change the air conditioning and
serpentine accessory belts in a 2nd generation 2000 to 2006 GM Chevy Tahoe SUV.
By Paul B. Michaels Author & Photographer Auto Mechanic Since 1989 |
||
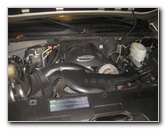 2006 Tahoe Vortec 5.3L V8 |
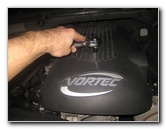 Loosen 8mm Bolt |
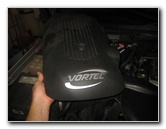 Remove Engine Cover |
|
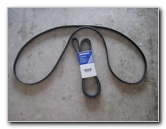
This automotive maintenance tutorial was specifically written to assist owners of the second generation (2000, 2001, 2002, 2003, 2004, 2005 & 2006) GM Chevrolet Tahoe SUV in changing the A/C (air conditioning) and serpentine accessory belts on the Vortec 5300 5.3 liter V8 engine. Owners of other General Motors GMT800 series SUV or truck vehicles such as the Chevy Silverado, Suburban, Avalanche, GMC Yukon, Sierra, Hummer H2 and the Cadillac Escalade may also find these DIY instructions to be helpful. The replacement belts that I installed and can recommend are as follows: ACDelco 6K930 Serpentine / Accessory Belt and the ACDelco 4K378 A/C Belt. The tools needed to complete this procedure include an 8mm socket with a 1/4" drive ratcheting wrench, a flathead screwdriver, a 15mm socket with a short extension bar and a 3/8" drive ratcheting wrench. |
||
Please verify the correct replacement belt part numbers for your vehicle by consulting with a General Motors dealership parts counter, an automotive parts store, or the Amazon Part Finder website. The correct belt may vary depending on your engine type, model year, trim level and / or the alternator type (105 amp, 145 amp or 160A). To tell what kind of alternator your Tahoe is equipped with, look for the number etched on the alternator. It should read either 105, 130, 145 or 160. A few other serpentine belts that should be compatible with the '00-'06 Tahoe with either the 4.8L or 5.3L V8 engines with their part numbers are as follows: Goodyear 4060922 Gatorback (105A Alternator), Gates K060930 (145A or 160A alternator, Goodyear 4060930 (145A alternator), Dayco 5060923 (105 amp alt.), Bando 6PK2345 (105A alt.), Some other A/C belts with their part numbers are as follows: ACDelco K040378HD, Dayco 5040378, and Gates K040378. |
||
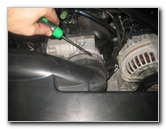 Loosen Hose Clamp |
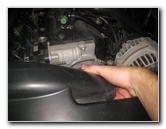 Pull Off Air Intake |
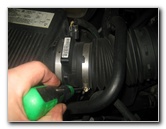 Loosen Air Box Hose Clamp |
| To better access
the belts located on the front of the engine, I would recommend removing the
air intake assembly. Loosen the hose clamp on the air intake near the alternator by turning it counterclockwise with a flathead screwdriver. Then loosen the hose clamp on the rubber hose by the engine air filter box by turning it counterclockwise with the flathead screwdriver. |
||
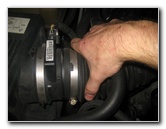 Pull Hose Off Air Filter Box |
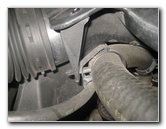 Plastic Friction Fastener |
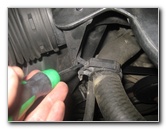 Pry Out Pop Rivet Fastener |
| Pull the rubber
hose off the engine air box. Gently pry out the black plastic friction fastener on the underside of the air intake assembly that holds it in place to a rubber coolant hose. |
||
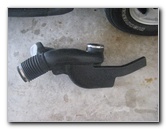 Remove Air Intake Assembly |
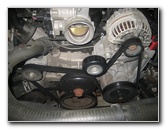 View of Belts & Pulleys |
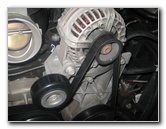 Alternator |
| Pull out the air
intake assembly from the engine bay and set it aside in a safe place. Take a moment to study how the belts are routed around the various pulleys. There should be a belt routing diagram on the black plastic radiator cover at the front of the engine bay. A good rule of thumb to remember is that the ribbed part of the belt goes around ribbed pulleys and the flat part of the belt should be against smooth pulleys. |
||
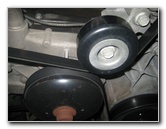 Idler Pulley |
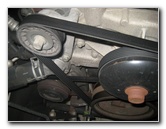 Belt Tensioner On Left |
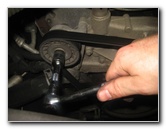 Attach 15mm Socket |
| The tensioner
pulley for the serpentine accessory belt is located on the left (passenger)
side of the engine. Attach a 15mm socket with a short extension bar to the 3/8" drive ratcheting wrench. |
||
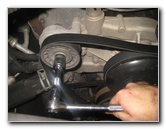 Rotate Tensioner Clockwise |
 Slip Off Old Serpentine Belt |
 Inspect Old Serpentine Belt |
| Place the 15mm
socket over the bolt head on the tensioner pulley and rotate it clockwise
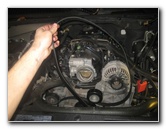
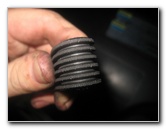
(to the right) to release the tension on the serpentine belt. Slip the serpentine belt off the tensioner pulley and then off the other pulleys. Inspect both sides of the old belt. If the old belt is in decent shape with very few cracks, frays or heavily worn sections, it can be saved as a back up belt. If the old belt is frayed and has lots of cracks on the ribbed side with missing chunks of rubber, it should be discarded. |
||
 New ACDelco 6K930 |
 A/C Belt Tensioner Pulley |
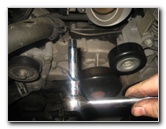 3/8" Drive Extension |
| The A/C belt is
located behind the serpentine belt and closer to the engine so it can only
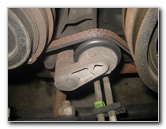
be replaced by first removing the serpentine belt. The tensioner pulley for the A/C belt is located between the compressor pulley on the left and the crankshaft pulley on the right. |
||
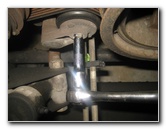 3/8" Extension In Tensioner |
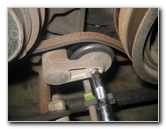 Release Tension - Clockwise |
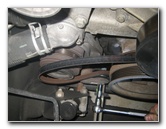 Pull Off Old A/C Belt |
| Insert the 3/8"
drive extension bar in to the opening on the A/C belt tensioner pulley. Rotate the wrench clockwise (to the right) to release the tension from the A/C belt. Slip the old belt off the compressor pulley and the crankshaft pulley. I chose to buy the ACDelco 6K930 Serpentine / Accessory Belt and the ACDelco 4K378 A/C Belt since they have excellent reviews on Amazon. |
||
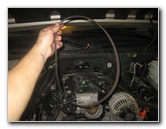 Remove Old A/C Belt |
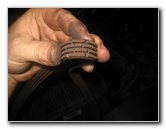 Inspect Old A/C Belt |
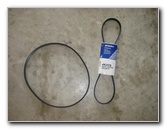 New ACDelco 4K378 |
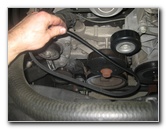 Lower In New A/C Belt |
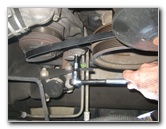 Over Crankshaft & Tensioner |
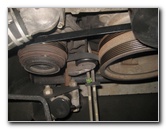 New Belt Installed |
| Lower the new A/C
belt down in to the engine bay and over the inner ribs on the large
crankshaft pulley. Route the smooth side of the new A/C belt above the tensioner pulley. Hold the left end of the belt taut near the compressor pulley. Rotate the tensioner clockwise and slip the end of the belt over the compressor pulley. Double check that the new A/C belt is routed properly and resting evenly on the ribbed pulleys. |
||
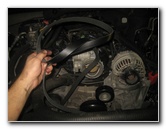 Lower In New Serpentine Belt |
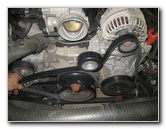 Route Belt Over Pulleys |
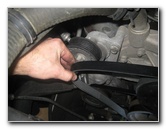 Hold Taut Near Tensioner |
| Lower the new
serpentine belt in to the engine bay and route it around and under the
various pulleys. I'd recommend starting at the alternator (top right) and working your way towards the left side of the engine. |
||
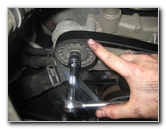 Slide Over Tensioner Pulley |
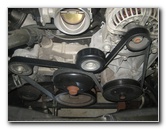 New Serpentine Belt Installed |
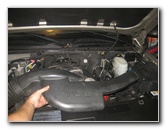 Line Up Air Intake Assembly |
| Hold the left end
of the serpentine belt taut near the tensioner pulley. Rotate the tensioner pulley clockwise and slip the belt over the pulley. Double check that the serpentine belt is routed properly and that it rests evenly on all of the ribbed pulleys. |
||
 |
 Re-Attach Rubber Hose |
 Tighten Both Hose Clamps |
| Line up the air
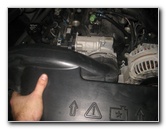
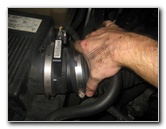
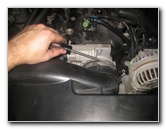
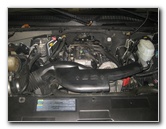
intake assembly and push it back in to place. Slide the rubber hose over the engine air filter box. Tighten the two hose clamps by turning the screws clockwise with a flat head screwdriver. |
||
 Air Intake Re-Assembled |
 Lower Engine Cover |
 Tighten 8mm Bolt |
| Lower the plastic
engine cover back in to place. Replace the 8mm bolt and tighten it in the clockwise direction until it is snug. Be sure to record the belt change in your vehicle's service records. For more, check out my other
2000-2006 GM Chevrolet Tahoe DIY Repair & Maintenance Guides. |
||
| If you found this guide to be helpful,
please consider making a small donation by clicking on the PayPal.com
"Donate" button located to the right of this paragraph. Thank you!
(Note: I am not a registered charity. Donations are not tax deductible.) |

