Chevrolet
Tahoe Oil Pressure Sensor Replacement Guide
How to change the oil pressure sending
unit on a Vortec 5300 5.3L V8 engine in a 2nd generation 2000-2006 GM Chevy
Tahoe.
By Paul B. Michaels Author & Photographer Auto Mechanic Since 1989 |
||
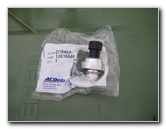 New Oil Pressure Sensor |
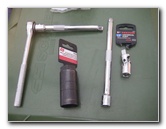 Special Socket & Tools |
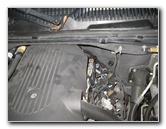 Right Side of 5.3L V8 Engine |
|
This automotive maintenance tutorial was specifically written to assist owners of the second generation (2000, 2001, 2002, 2003, 2004, 2005 & 2006) GM Chevrolet Tahoe SUV with the Vortec 5300 5.3 liter V8 engine in changing a faulty oil pressure sensor (A.K.A. "sending unit" or "switch") which has caused the oil pressure gauge to be pegged or "stuck" at 80 PSI (pounds per square inch). Owners of other General Motors GMT800 series vehicles such as the Chevy Silverado, Suburban, Avalanche, GMC Yukon, Sierra, Hummer H2 and the Cadillac Escalade may also find these DIY instructions to be helpful. A new oil pressure sensor is either the ACDelco # D1846A or the GM 12616646 (OEM part number). The tools required to complete this procedure include the following: Lisle 13250 Oil Pressure Switch Socket, a 6" extension bar, a universal swivel joint (or "flex" joint), and a 3/8" drive ratcheting wrench. |
||
|
|
||
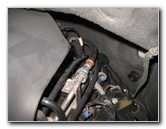 Rear Right Corner of Engine |
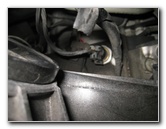 Oil Pressure Sensor & Plug |
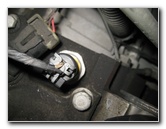 Sensor Location |
|
I'd recommend removing the plastic engine cover for extra working room. Rotate the single bolt on the engine cover counterclockwise with an 8mm socket and ratcheting wrench. Set the engine cover aside in a safe place. The oil pressure sensor is located on the right rear corner of the Vortec 5300 5.3L V8 engine. It is near the firewall on the driver side with the electrical connector and wires pointing up towards the hood. |
||
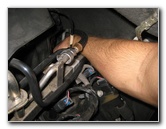 Pull Out Retaining Clip |
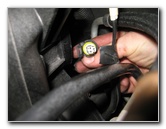 Unplug Electrical Connector |
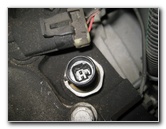 Sensor Plug Disconnected |
| Gently pull back the plastic retaining clip on the electrical connector and slide the plug straight out of its socket. | ||
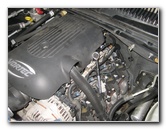 Ratcheting Wrench On Sensor |
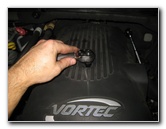 8mm Engine Cover Bolt |
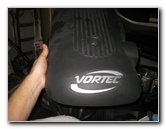 Remove Plastic Engine Cover |
| As I mentioned
before, I'd recommend removing the engine cover for more working room and to
prevent from damaging it. You may also want to cover the front part of the engine bay with some thick towels to cushion your chest and stomach and protect the engine components when you lean over to replace the sensor. |
||
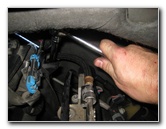 Loosen Counterclockwise |
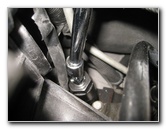 Socket On Old Sensor |
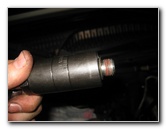 Old Sensor Removed |
| Attach the
Lisle
13250 (1 1/16") oil pressure switch socket to a 6" extension bar and the
3/8" drive ratcheting wrench. Carefully lower the socket over the old sensor and loosen it in the counterclockwise direction. If you have trouble loosening the old sensor, try carefully spraying a small amount of penetrating oil on to the base of the threads. Once the sensor is loose, detach the ratcheting wrench and spin it out the rest of the way by hand. |
||
|
|
||
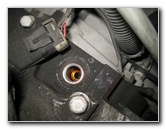 Opening In Engine Block |
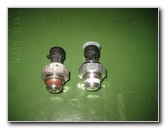 Old Vs. New Sensor |
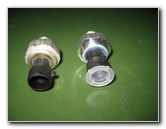 Electrical Plug Sockets |
| Pull the old sensor out of the socket and compare it to the new unit to make sure that you have the correct replacement part. | ||
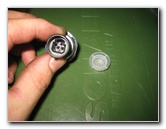 Remove Plastic Cover |
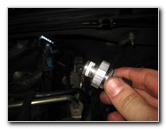 Thread Locker On New Sensor |
 Spin In Clockwise By Hand |
| Pull the plastic
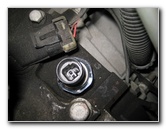
cover out of the electrical connector socket on the new sensor. The new ACDelco D1846A sensor has some white thread locking adhesive (similar to "Loctite" brand Threadlocker) on the threads. This will help prevent it from loosening due to vibration or shock. If it doesn't have any threadlocker on it, apply some Loctite Blue medium to the threads. Spin in the new sensor by hand in the clockwise direction a few turns to make sure that it does not become cross threaded. |
||
 Tighten With Socket |
 New Sensor Installed |
 Sensor Power Plug |
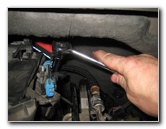
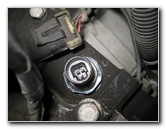
| Attach the 1 1/16"
socket to the sensor and tighten it in the clockwise direction to just past
hand tight or about 26 ft-lbs of torque if you have a
torque wrench. Double check that the new sensor is tight before moving on to the next steps. |
||
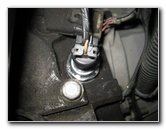 Push On Electrical Connector |
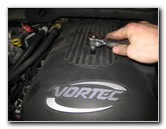 Tighten 8mm Bolt |
 Engine Cover Replaced |
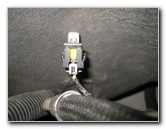
| Push the electrical
connector straight on to the new sensor until the retaining clip "clicks"
securely in to place. Replace the plastic engine cover and tighten the 8mm bolt in the clockwise direction. Test the new oil pressure sensor by starting the engine. If the new sensor is working properly, the oil pressure gauge should read about 40 PSI when the engine is idling. For more, check out my other
2000-2006 GM Chevrolet Tahoe DIY Repair & Maintenance Guides. |
||
| If you found this guide to be helpful,
please consider making a small donation by clicking on the PayPal.com
"Donate" button located to the right of this paragraph. Thank you!
(Note: I am not a registered charity. Donations are not tax deductible.) |

