2008-2012 GM
Chevrolet Malibu Door Panel Removal Guide
How to remove the interior door panel of
a 2008-2012 Chevy Malibu to upgrade the speaker or replace the window motor.
By Paul B. Michaels Author & Photographer Auto Mechanic Since 1989 |
||
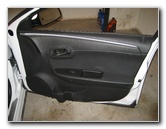 2011 Malibu Front Door Panel |
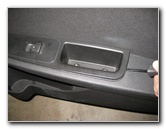
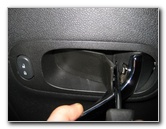 Pry Out Plate Behind Door Handle |
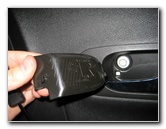 Plate Removed, Screw Exposed |
| This
automotive maintenance "how-to" guide was specifically written to
assist owners of the 7th generation (2008, 2009, 2010, 2011 & 2012)
General Motors Chevrolet Malibu in removing the interior door panel
to upgrade the speaker, replace a window motor or add soundproofing
material. Owners of other General Motors vehicles such as the Cruze, Sonic, Volt, Impala, Corvette, Camaro, Tahoe, Colorado, Equinox, Traverse, Buick Regal, Enclave, LaCrosse, GMC Acadia, Terrain, Yukon, Cadillac CTS, ATS, XTS, Escalade, Pontiac Grand Prix, Grand Am, G6, G5, G8, Oldsmobile Alero, Silhouette, Bravada, Aurora, and Intrigue may also find these DIY instructions to be helpful. The tools needed to complete this procedure include a 10mm socket, a 7mm socket, a ratcheting wrench, a Phillips head screwdriver, a small flat head screwdriver and a Torx T25 star bit screwdriver. |
||
|
|
||
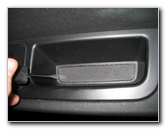 Armrest Door Pull |
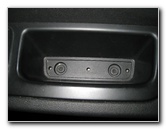 Remove Rubber Cover |
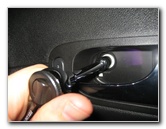 Remove 10mm Screw |
| The first step is
to pry out the plastic trim plate behind the chrome colored door release
handle using a small flathead screwdriver.
Then remove the 10mm screw behind the plate using a ratcheting wrench with an extension bar attached. Next pry out the rubber cover at the bottom of the door pull located in the center of the arm rest. Use a Torx T-25 (star bit) screwdriver to remove the two screws. |
||
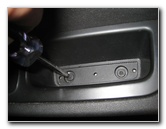 Remove Torx T25 Screws |
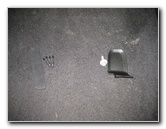 2 T-25 Torx & 1 10mm Screw |
 Pry Up Arm Rest Panel |
| Use a flathead screwdriver to pry up the rear of the plastic arm rest panel. There is a plastic hook at the front of the panel, so only pry it up from the rear edge. | ||
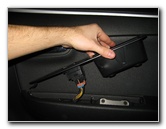 Lift Rear End First |
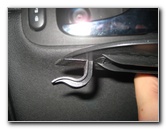 Plastic Hook At Front of Panel |
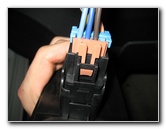 Power Window Connector |
| After you lift out the arm rest panel, you'll need to disconnect the power connector for the window and door lock switches. | ||
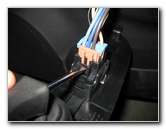 Push Connector Release Tab |
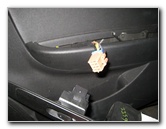 Power Connector Unplugged |
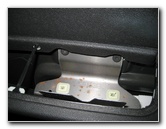 Two More T25 Screws |
| Push on the release
tab with a flathead screwdriver and pull out the power window / door lock
connector. Use a Torx T25 screwdriver to remove the two screws located below the arm rest panel. |
||
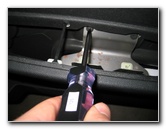 Remove T25 Torx Screws |
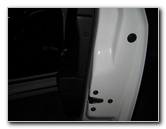 Outer Edge of Panel |
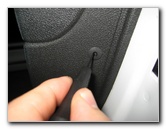 Push In Center of Fastener |
| Then move to the outer edge of the door panel and locate the two small round fasteners. Use a small screwdriver to pop in the center pins of the two fasteners. | ||
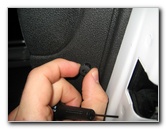 Pull Out Plastic Rivet |
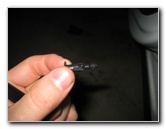 Black Plastic Fastener Removed |
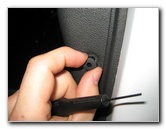 Remove Lower Fastener |
| Pull out the two plastic rivet fasteners and set them aside in a safe place. | ||
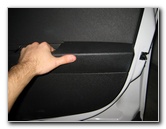 Pull Panel Away From Door |
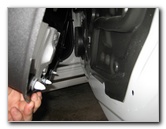 White Plastic Pop Rivets |
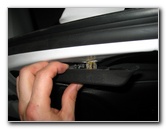 Pull Off Sail Panel |
| Grab the door pull
in the arm rest and tug it towards yourself to disengage the pop rivet
friction fasteners that hold the panel to the door frame. Move to the top corner of the door panel and pry off the triangular "sail" panel. On some vehicles, the sail panel contains the tweeter speaker. |
||
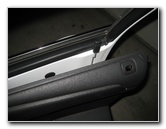 Lift Panel Off Door Lock |
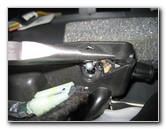 Pull Out Door Pull Cable |
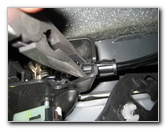 |
| Lift the door panel
off the door lock button and tilt the top of it out towards yourself.
Use a pair of needle nose pliers to gently lift the metal ball at the end of the door opener cable out of the mechanism. Disconnect the door cable from the back side of the door panel. |
||
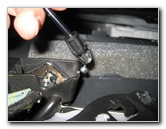 Door Pull Cable Removed |
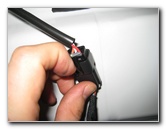 Disconnect Power Mirror |
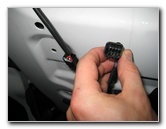 |
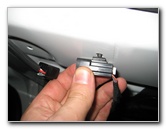
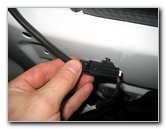
| Then disconnect the power connector for the side view mirror by lifting up on the release tab. Slide the power connector off the plastic anchor on the metal door frame. | ||
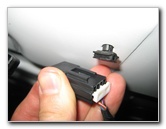 Slide Connector Off Anchor |
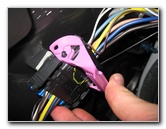 Unlock Connector |
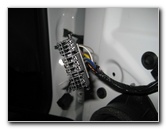 Connector Detached |
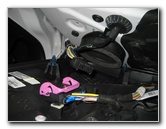
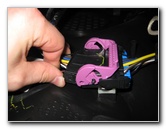
| Look behind the door panel and locate the large wire connector with the pink lever lock. Swing the lever open to unlock the connector and separate it from the socket. | ||
|
|
||
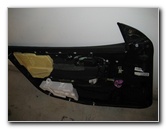 Door Panel Removed |
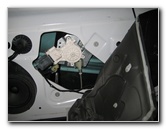 Power Window Motor |
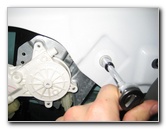 10mm Bolts |
| Now the door panel
can be completely removed by lifting it up and off the door frame.
To replace the power window motor, remove the 10mm bolts. |
||
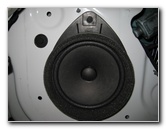 Stock OEM Door Speaker |
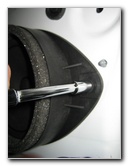 Remove 7mm Screw |
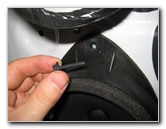 |
| The stock "OEM" speaker is held in place by a single 7 mm screw. Remove it with a socket and ratcheting wrench. | ||
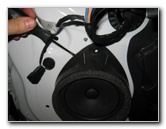 Pry Off OEM Speaker |
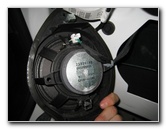 Speaker Removed |
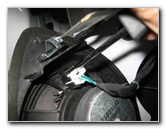 Disconnect Power Plug |
| If the speaker is
stuck to the door frame, gently pry it off with a small flathead
screwdriver.
Disconnect the speaker's power plug by pressing the release tab with the small flathead screwdriver. |
||
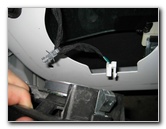 |
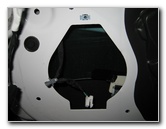 Fits 5.25", 6.5", 6.75" |
 Re-installing Door Panel |
| According to the
Crutchfield website, the 2008 to 2012 Chevrolet Malibu's front door speakers
can be replaced with aftermarket
speakers in the following sizes: 5 1/4", 6 1/2" or 6 3/4" speakers with the use of a
bracket. If you'd like to reduce road noise, make your car quieter and also improve the sound from your speakers, I'd recommend applying some Dynamat Sound Deadener on to the metal door frame. |
||
 Re-Attach To Anchor |
 Plug In Power Side View Mirror |
 Re-Insert Power Connector |
| To re-install the
door panel, first hold the panel close to the door frame before
re-connecting the large wire plug. Swing the pink lever closed to lock it in
place.
Slide the socket for the power side view mirror back on to its anchor and insert the power plug. |
||
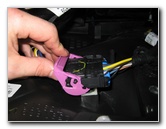 Lock Power Connector |
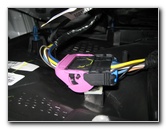 Pink Lever Locked |
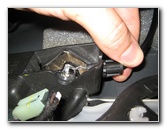
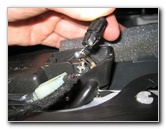 Re-Insert Door Pull Cable Ball |
| Insert the metal
ball at the end of the door opener cable back in to the door handle
mechanism.
Slide the black plastic cone part of the cable back into the slot in the door opener assembly. |
||
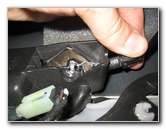 Door Opener Cable Reinstalled |
 |
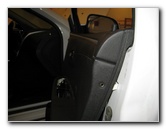 Hang Door Panel On Frame |
| Gently lower the door panel down on to the edge of the door frame with the door lock switch through the opening at the top. | ||
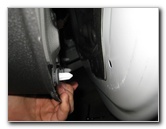 Line Up White Plastic Fasteners |
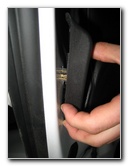 Push On Sail Panel |
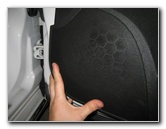 Push Door Panel In Place |
| Move to the bottom of the door panel and line
up the white plastic pop rivet fasteners with the holes in the metal door
frame.
Push all around the door panel to re-insert the pop rivet fasteners. Re-attach the sail panel at the top corner of the door frame. |
||
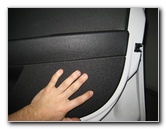 Push Panel Flush Against Frame |
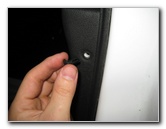 Insert Side Edge Fasteners |
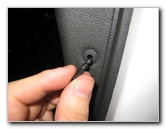 Insert Larger Piece First |
| Next move to the
side edge of the door panel and first re-insert the larger piece of the two
fasteners.
Then insert the smaller "pin" piece of the fastener into the middle of the larger piece. |
||
 Insert Small "Pin" Piece |
 Install Lower Edge Fastener |
 |
 Tighten 2 T25 Torx Screws |
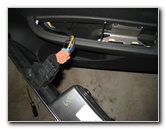 Re-Attach Power Connector |
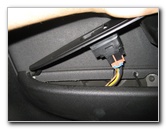 Insert Front Hook First |
| Insert and tighten
the two Torx T-25 screws located under the arm rest.
Re-attach the power connector to the plastic arm rest panel. First insert the hook at the front of the arm rest panel and then snap the rear end in place. |
||
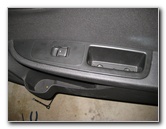 Pop Arm Rest Panel In Place |
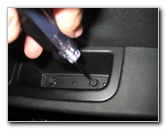 Tighten 2 T25 Screws |
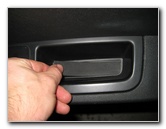 Replace Rubber Cover |
| Insert and tighten the two T25 Torx screws into the door pull cup. Then replace the rubber cover over the two screws. | ||
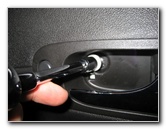 Tighten 10mm Door Handle Screw |
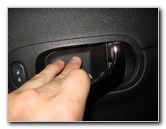 Replace Door Handle Trim Plate |
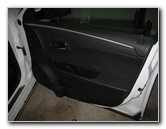 Malibu Door Panel Replaced |
| Replace the 10mm
screw that goes above and behind the door opener handle and tighten it.
Pop in the plastic trim plate behind the door handle. Be sure to record the speaker change or any repair in your vehicle's service records. Please
check out my other
2008-2012 Chevy Malibu Repair & Maintenance Guides. |
||
| If you found this guide to be helpful,
please consider making a small donation by clicking on the PayPal.com
"Donate" button located to the right of this paragraph. Thank you!
(Note: I am not a registered charity. Donations are not tax deductible.) |

