2008-2012 GM Chevrolet
Malibu Spark Plugs Replacement Guide
How to check or replace the spark plugs
in a 7th gen 2008-2012 GM Chevy Malibu with the Ecotec 2.4L LE5 I4 engine.
By Paul B. Michaels Author & Photographer Auto Mechanic Since 1989 |
||
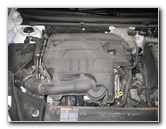 GM Ecotec 2.4L LE5 I4 |
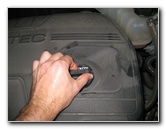 Twist Off Oil Filler Cap |
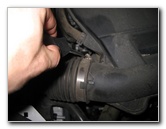 Unscrew Air Box Hose |
| This
automotive "how-to" guide was specifically written to assist owners
of the 7th generation (2008 to 2012) GM Chevrolet Malibu equipped
with the Ecotec LE5 2.4L I4 engine in replacing the spark plugs. Owners of other General Motors vehicles with the Ecotec 2.4 liter inline four cylinder motor such as the Cobalt SS, Cobalt Sport, HHR, Pontiac G5, G6, Solstice, Saturn Sky, Ion, Aura, Vue, Buick GL8 and LaCrosse may also find these DIY "tune-up" instructions to be helpful. The tools required to complete this procedure include a flathead screwdriver, a pair of needle nose pliers, a 10mm socket with a 1/4" drive ratcheting wrench, a 6" extension bar, a 3/8" drive ratcheting wrench and a 5/8" spark plug socket. A few compatible replacement aftermarket spark plugs with their part numbers include the NGK (5019) LTR5GP, Denso 5338 (also # 5349 or 5068), ACDelco 41-103, Bosch 4514 (6716 or 9611), E3 # E3.66, and Autolite XP5263. |
||
|
|
||
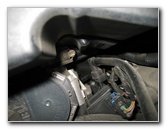 Air Intake Screw Below Cover |
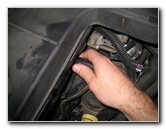 Loosen Air Intake Screw |
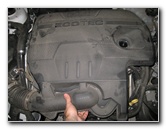 Lift Off Engine Cover |
|
In order to access the spark plugs, the engine
cover needs to be removed.
First twist off the oil filler cap by rotating it counter clockwise. Then loosen the metal hose clamp that attaches the air box to the air intake on the engine cover by turning the flathead screw counter clockwise a few turns. There is a second hose clamp underneath the engine cover that needs to be loosened a few turns before the cover can be lifted off. Look below the engine cover with a flashlight to help locate the flathead screw. Once the oil filler cap has been removed and the two hose clamps have been loosened, you can lift off the engine cover. If you'd like to completely detach the engine cover, disconnect the PCV hose using a pair of needle nose piers. |
||
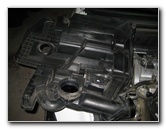 Engine Cover Removed |
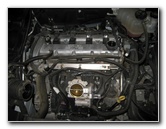 Ecotec LE5 Four Cylinder |
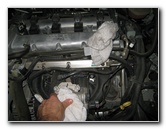 Plug Holes With Rags |
| To prevent from
dropping a foreign object into the engine, gently plug the oil filler hole
and air intake with clean rags. If you have access to an air compressor or a can of compressed air, blow away any debris from the ignition coils. |
||
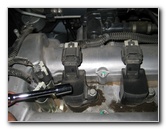 10mm Socket & Extension |
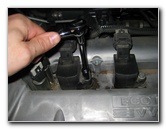 Loosen 10mm Bolt |
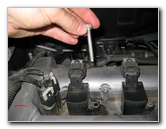 Remove 10mm Coil Bolt |
| On the top of the
engine, you'll see the four ignition coils over the spark plugs. The
ignition coils are each held in place by a single 10mm bolt.
Use the 10mm socket with an extension and ratcheting wrench to remove the bolt by turning it counter clockwise. |
||
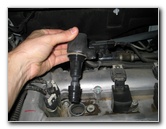 Lift Out Ignition Coil |
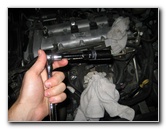 5/8 Spark Plug Socket |
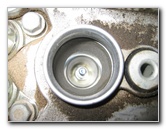 Spark Plug In Cylinder Head |
| Gently lift the ignition coil straight up and out of the engine to reveal the top of the spark plug. | ||
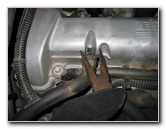 Disconnect PCV Hose |
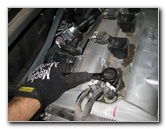 Loosen Spark Plug |
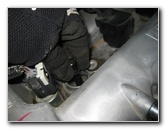 Spin Out Spark Plug By Hand |
| Attach the
5/8"
spark plug socket to your ratcheting wrench with extension bar and lower it
over the spark plug. Gently rotate the spark plug counter clockwise to loosen it and then lift it straight out of the cylinder head. |
||
|
|
||
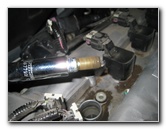 Spark Plug Removed |
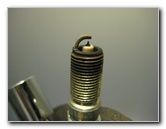 Old Spark Plug At 30k Miles |
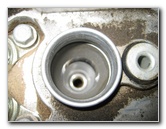 View Of Spark Plug Socket |
| If your old spark
plugs look very white, they may have been exposed to high temperatures such
as engine overheating or they are the incorrect heat range for your driving
conditions or environment. If the old spark plugs are black, the engine may be burning oil and should be thoroughly checked out by a professional. |
||
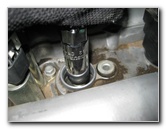 Gently Lower New Spark Plug |
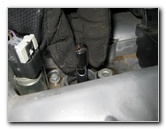 Thread Spark Plug By Hand |
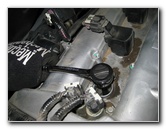 Tighten Extra 1/2-3/4 Turn |
| The new spark plugs
should already be pre-gapped to .044" but it's a good idea to check them
anyway before installation. I'd recommend buying the ACDelco 41-103 professional iridium spark plugs since they have the best reviews on Amazon and they should last you up to 100,000 miles. Insert the new spark plug into the spark plug socket attached to just the extension bar and carefully lower it down into the cylinder head. Turn it a few times by hand to prevent it from becoming cross threaded. Tighten the spark plug until you feel the crush washer make contact with the cylinder head and then slowly continue tightening it 1/16 to 1/8 of a turn to fully seat the spark plug. Try to avoid over tightening the plugs. If you have a torque wrench, the spark plugs should be tightened to about 11 ft lbs if you applied anti-seize to the threads or approximately 18 ft lbs if you did not apply anti-seize. Be careful to not over tighten the spark plugs, especially if you have applied anti-seize lubricant to the threads. |
||
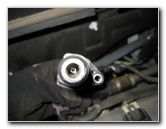 Apply Dielectric Grease |
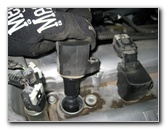 Re-Install Ignition Coil |
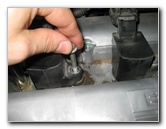 Insert 10mm Coil Bolt |
| Apply a tiny amount
of dielectric grease to the rubber boots at the bottom of the ignition
coils.
This will help seal out moisture and prevent the boots from sticking to the top of the spark plugs. Lower the ignition coil straight down over the spark plug and line up the bolt hole on the coil with the bolt hole in the engine block. Insert the 10mm ignition coil bolt and tighten it a few turns by hand to prevent it from becoming cross threaded. Tighten the bolt to just past hand tight with the 10mm socket and ratcheting wrench. Repeat the steps above to replace the other three spark plugs. |
||
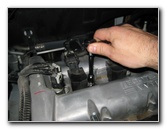 Tighten 10mm Bolt |
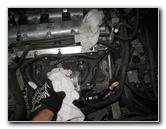 Remove Rags |
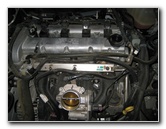 Plugs Pre-Gapped To .044" |
| Double check that the four 10mm bolts holding the ignition coils in place are secure before continuing. | ||
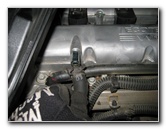 Replace PCV Hose |
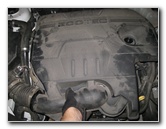 Lower Engine Cover |
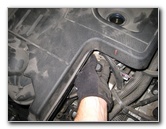 Tighten Hose Clamp Screw |
| If you removed the
PCV hose, use a pair of needle nose pliers to open the clamp and slide the
hose back in place. Lower the engine cover back over the top of the motor and line up the oil filler hole and air intake. Use a flathead screwdriver to tighten the air intake hose clamp below the engine cover. |
||
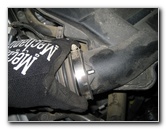 Slide On Air Intake Hose |
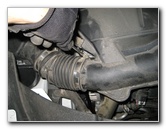 Tighten Air Intake Hose Clamp |
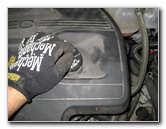 Replace Oil Filler Cap |
| Slide on the air
intake hose from the air box and tighten the hose clamp. Spin on the oil
filler cap in the clockwise direction to complete the job. Be sure to record the spark plug change in your vehicle's service records. Please
check out my other
2008-2012 Chevy Malibu Repair & Maintenance Guides. |
||
| If you found this guide to be helpful,
please consider making a small donation by clicking on the PayPal.com
"Donate" button located to the right of this paragraph. Thank you!
(Note: I am not a registered charity. Donations are not tax deductible.) |

