2008-2012 GM Chevrolet
Malibu Electrical Fuse Replacement Guide
How to replace an electrical fuse in a
7th generation 2008-2012 GM Chevy Malibu with picture illustrated DIY
instructions.
By Paul B. Michaels Author & Photographer Auto Mechanic Since 1989 |
||
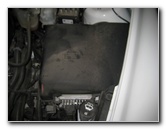 Malibu Engine Bay Fuse Box |
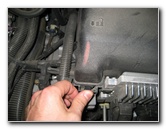 Battery Box Release Tab |
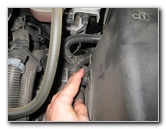 2nd Battery Box Release Tab |
| This
automotive "how-to" guide was specifically written to assist owners
of the 7th generation (2008 to 2012) GM Chevrolet Malibu in
replacing a burnt out electrical fuse in the engine bay, passenger
kick panel or trunk fuse blocks. Owners of other General Motors vehicles such as the Impala, Sonic, Cruze, Volt, Corvette, Camaro, Suburban, Tahoe, Aveo, Colorado, Equinox, Traverse, Buick Regal, Enclave, LaCrosse, GMC Acadia, Terrain, Yukon, Cadillac CTS, ATS, XTS, Escalade, Pontiac Grand Prix, Grand Am, G6, G5, G8, Aztec, Alero, Silhouette, Bravada, Aurora, and Oldsmobile Intrigue may also find these DIY fuse replacement instructions to be helpful. Assortment boxes of mini blade fuses can be purchased at Amazon or at your local auto parts store. The white plastic fuse puller tool is No additional tools are needed to access and replace any of the fuses in the vehicle's three fuse blocks. |
||
|
|
||
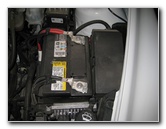 Battery & Fuse Box |
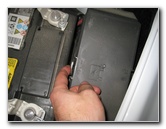 Fuse Box Left Release Tab |
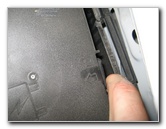 Fuse Box Right Release Tab |
| The 7th generation
2008-2012 Chevy Malibu has three separate fuse blocks located in the engine
bay, behind the front passenger kick panel, and in the trunk. To access a fuse in the engine bay fuse block, first release the two tabs on the battery box on the driver side of the engine bay. Then push and release the two tabs on the fuse block cover to remove it. |
||
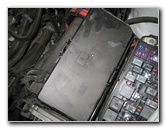 Lift Off Fuse Box Cover |
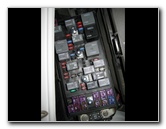 Engine Bay Fuse Block |
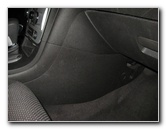 Front Passenger Kick Panel |
| In order to remove a fuse, you will first need to get the fuse puller tool from the fuse block behind the front passenger kick panel. | ||
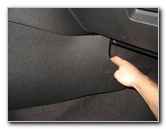 Gently Pull Off Kick Panel |
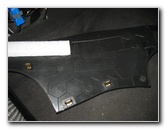 Kick Panel Removed |
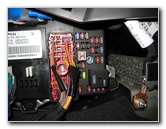 Passenger Cabin Fuse Block |
| To remove the kick panel, gently pull on the end closest to the front of the vehicle and pull it away from the center console. | ||
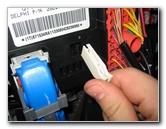 Fuse Removal Tool Location |
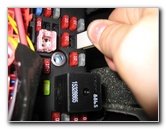 Pull Out Electrical Fuse |
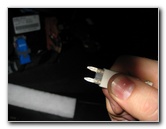 Fuse Removed |
|
|
||
| The white plastic
fuse puller tool is located to the right of a large blue electrical
connector. Place the fuse puller tool over the fuse you'd like to check or replace and pull it straight out of the fuse block. |
||
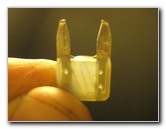 Hold Up Fuse To Light |
 Re-Insert Fuse |
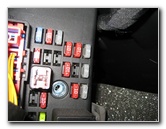 |
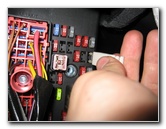
| To check if a fuse
is "blown", hold it up to a light source. If the metal strip going through
the plastic part of the fuse is intact, the fuse is most likely still good.
New fuses are so cheap, that you should still replace the fuse responsible for the electrical component having problems just as a troubleshooting measure. If the metal strip in the center of the fuse has a break anywhere between the two blades, then it needs to be replaced. If your Malibu is equipped with standard mini blade fuses like this car, make sure you do not purchase the relatively newer style of "low profile" fuses since they won't fit. Re-insert the old fuse or install the new fuse by pushing it straight into the fuse block. |
||
 Malibu Fuse Reference Chart |
 Replace Fuse Puller Tool |
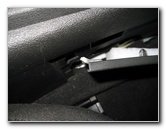 Insert Kick Panel Tabs |
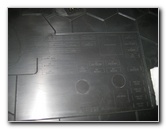
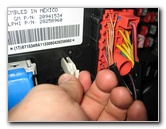
| There is a fuse
block reference chart on the underside of each fuse block cover that lists
what electrical device each fuse protects from a power surge or short. If you don't need to replace a fuse in the trunk's fuse block, replace the fuse puller tool by pushing it straight into the slot to the right of the large blue connector. Replace the passenger side kick panel by first inserting the tab at the rear and then gently pushing the front of the panel in place. |
||
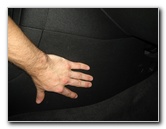 Push Kick Panel In Place |
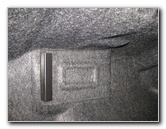 Trunk Fuse Box Cover |
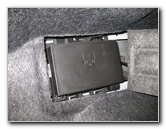 Open Carpet Panel |
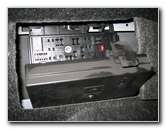
| The third fuse
block is located in the trunk behind a grey carpet panel.
Swing the panel towards the front of the vehicle to access the fuse block cover. |
||
 Press Tab - Trunk Fuses |
 Replace Fuse Block Cover |
 Replace Battery/Fuse Cover |
| Press the release
tab on the trunk's fuse block cover to open it downwards.
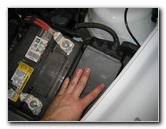
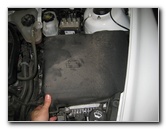
Once you've finished replacing any fuses, snap the fuse block covers back in place. The final step is to replace the battery cover and push it down until the two fasteners snap in place. Please
check out my other
2008-2012 Chevy Malibu Repair & Maintenance Guides. |
||
| If you found this guide to be helpful,
please consider making a small donation by clicking on the PayPal.com
"Donate" button located to the right of this paragraph. Thank you!
(Note: I am not a registered charity. Donations are not tax deductible.) |

