2008-2012 GM Chevy Malibu
Front Brake Pads Replacement Guide
How to replace the front brake pads on a
7th generation (2008-2012) Chevrolet Malibu with picture illustrated
instructions.
By Paul B. Michaels Author & Photographer Auto Mechanic Since 1989 |
||
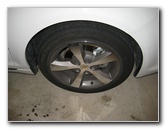 Malibu Front Wheel |
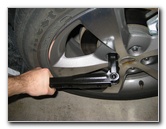 Loosen Five Lug Nuts |
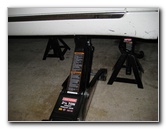 Floor Jack - Raise Vehicle |
| This
automotive "how-to" guide was specifically written to assist owners
of the 7th generation 2008, 2009, 2010, 2011 and 2012 GM Chevrolet Malibu in
replacing the front brake pads and lubricating the caliper slider
pins. Owners of other General Motors vehicles such as the Cruze, Sonic, Volt, Impala, Corvette, Camaro, Tahoe, Colorado, Equinox, Traverse, Buick Regal, Enclave, LaCrosse, GMC Acadia, Terrain, Yukon, Cadillac CTS, ATS, XTS, Escalade, Pontiac Grand Prix, Grand Am, G6, G5, G8, Oldsmobile Alero, Silhouette, Bravada, Aurora, and Intrigue may also find these DIY front brake job instructions to be helpful. The items needed to complete this procedure include a tire iron, a floor jack, two jack stands, a 14mm socket, a 3/8" drive ratchet, an "F" clamp and a tube of brake caliper grease. A few of the aftermarket front brake pads compatible with the 08-12 Malibu include the following with their part numbers: ACDelco 14D1160CH, Raybestos PGD1160C, Wagner QC1160 or ZD1160, Bendix D1028 CQ and Monroe CX1160. The first two steps are to place wheel chocks on both sides of the rear wheels and engage the emergency / parking brake to prevent the vehicle from moving. Then slightly loosen the 5 lug nuts on the front wheel by turning them about 1/4 to 1/2 turn in the counterclockwise direction with the tire iron. Carefully raise the front of the vehicle with the floor jack and securely supporting it with at least two jack stands. I prefer to just work on one side of the car at a time to keep three tires on the ground for extra safety. Please do not solely rely on the floor jack to support the vehicle. |
||
|
|
||
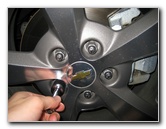 Spin Off Lug Nuts |
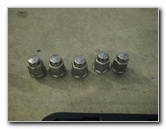 5 Lug Nuts Removed |
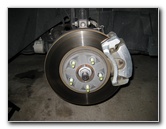 Front Wheel Rotor & Caliper |
|
Spin off the lug nuts and set them aside in a safe place. Remove the front wheel to reveal the front brake caliper, rotor and bracket. |
||
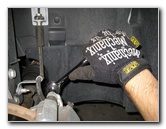 Loosen 14mm Caliper Bolt |
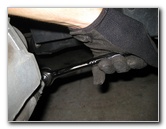 Loosen Lower 14mm Bolt |
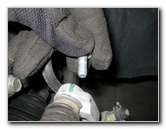 Remove Caliper Bolts |
| Use a 14mm socket
with a 3/8" drive ratchet to loosen and remove the two front brake caliper
bolts by turning them clockwise (as seen from the outside of the vehicle). Set the two caliper bolts aside in a safe place. |
||
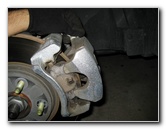 Pull Off Caliper Assembly |
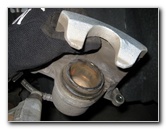 Front Brake Caliper Piston |
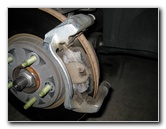 Brake Pads In Caliper Bracket |
| Gently pull the
caliper assembly off the brake pads and out of the bracket. Rest the caliper on the rotor or suspend it from the suspension spring with a bungee cord or some rope. |
||
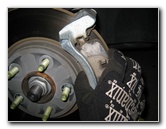 Pull Out Brake Pads |
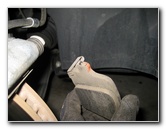 Wear Bar - Top Inner Pad |
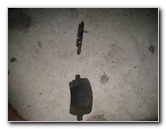 Old Brake Pads Removed |
| Remove the old
brake pads from the bracket and make a mental note of how the wear indicator
bar or
"squeal" bar is situated.
On this 2011 Malibu, the wear indicator bar was positioned at the top of the inner brake pad. |
||
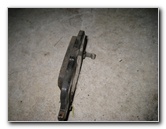 |
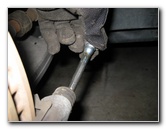 Remove Lower Caliper Pin |
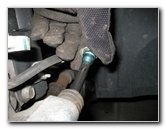 Check Caliper Slider Pin & Lube |
| In order to
maintain optimum braking performance, the two caliper slider pins should be
removed to check for adequate lubrication.
Avoid mixing up the upper and lower caliper slider pins since they could be slightly different. Gently pull the caliper pins out of their rubber dust boots and if they aren't well lubricated, apply a thin layer of high temperature synthetic brake parts lubricant grease. Then re-insert the caliper slider pins back into the caliper bracket until their rubber boots pop back in place over the metal lip on the pins. I've always had great experiences with the Wagner ThermoQuiet QC1160 ceramic brake pads and they have excellent reviews on Amazon from other Chevy owners. |
||
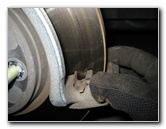 Replace Anti-Rattle Clips |
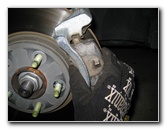 Insert New Brake Pads |
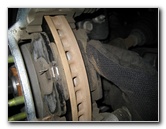 Squeal Bar - Top Inner Pad |
|
If the new front brake pads kit included new metal pad abutment clips or "anti-rattle clips", remove the old ones from the top and bottom of the caliper bracket. Apply a thin layer of brake grease to the top and bottom of the abutment clips. Avoid getting grease on the friction surface of the rotor or the new pads. (Wear gloves to keep from cutting your fingers on the sharp metal edges.) Thoroughly clean off the brake rotor, caliper bracket, brake caliper assembly and the lug nut studs with brake parts cleaner spray. Do not use compressed air or blow with your mouth to clean off the brake parts since breathing in brake dust can be harmful to your health. Brake dust may be carcinogenic (causes cancer) if inhaled. Push the new pad abutment clips into the top and bottom of the bracket. Make sure the pad abutment clips are fully seated in place. To help prevent or reduce braking noise, an optional step is to apply some CRC Disc Brake Quiet gel or a similar product to the rear of the new brake pads where they come in contact with the caliper. (Do not apply anything to the friction surface of the new pads.)
|
||
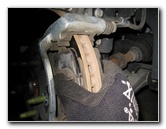 Push Pads Against Rotor |
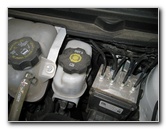 Brake Fluid Reservoir |
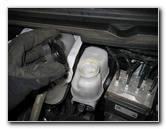 Remove Brake Fluid Cap |
| Install the new
brake pads into the bracket and push them flush against the rotor.
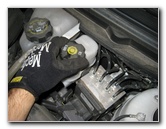
Make sure the wear indicator bar is situated at the top of the inner brake pad. In order for the caliper to fit over the thicker new brake pads, the caliper piston will need to be compressed back with an "F" clamp. First move to the engine bay and remove the brake fluid reservoir cap to allow the fluid to more easily travel backwards through the system when you compress the caliper piston. |
||
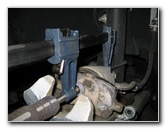 "F" Clamp Compress Piston |
 |
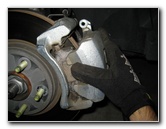 Lower Caliper Over New Pads |
| Attach the "F"
clamp to the caliper piston using the back of an old brake pad to evenly
distribute the force.
Slowly compress the caliper piston until it is flush with its rubber dust boot. Screw the brake fluid reservoir cap back in place as soon as possible since the fluid readily absorbs moisture from the air. Lower the brake caliper over the new brake pads and down into the bracket. If the caliper won't fit over the new brake pads, you may need to compress the piston back a bit further with the "F" clamp. |
||
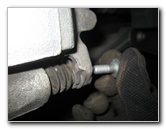 Insert 14mm Caliper Bolts |
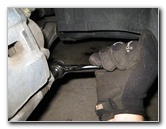 Tighten Lower Caliper Bolt |
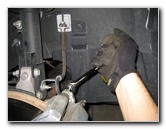 Tighten Upper Caliper Bolt |
| Line up the bolt
hole in the caliper with the bolt hole in the caliper pin.
Insert the two 14mm caliper bolts and thread them in by hand a few turns to prevent them from becoming cross threaded. Tighten the two caliper bolts to just past hand tight or about 25 ft lbs of torque with a torque wrench.
|
||
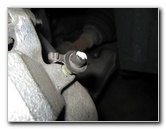 Bleed Valve Cap |
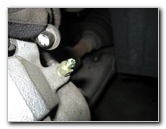 Brake Fluid Bleeder Valve |
 Replace Brake Fluid Cap |
| If your brake pedal
previously felt soft, mushy, or spongy, the brake fluid may be contaminated with
water and/or the brake lines may contain air bubbles.
It would be best to bleed the brake lines at this time in order to flush out the old fluid and replace it with fresh DOT 3 brake fluid. For more on this topic, check out my Brake Line Fluid Bleeding With An Assistant DIY Guide or alternatively the Brake Line Fluid Bleeding With A Power Bleeder Guide. If you haven't already, don't forget to replace the cap on the brake fluid reservoir. |
||
 Replace Front Wheel |
 Spin On Five Lug Nuts |
 Slightly Tighten Lug Nuts |
| Replace the front
wheel, spin on the five lug nuts by hand, and slightly tighten them with the
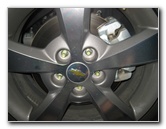
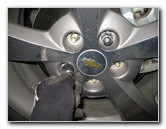
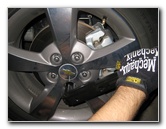
lug nut wrench. Lower the car from the jack stands and the floor jack. Progressively tighten the lug nuts in a "criss-cross" or star pattern to about 1/4 to 1/2 turn past hand tight. It would be best to use a torque wrench or an air gun with a torque stick to tighten them to the owner's manual specification of 110 ft lbs of torque. Attention: Please double check your owner's manual for the correct lug nut torque specification for your vehicle. |
||
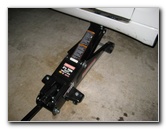 Lower Car From Floor Jack |
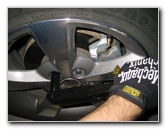 Tighten 5 Lug Nuts |
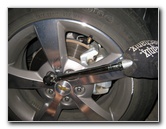 Check Lug Nuts - Torque Wrench |
Sit in the driver's seat of the car and firmly pump the brake pedal a few times to restore the brake line pressure. Then check the brake fluid level in the reservoir and verify that it is at the proper level. If necessary, pour in some new DOT 3 brake fluid until the level reaches the "MAX" line. To break in your new front brake pads, just drive normally for the first several hundred miles while trying to avoid any hard or "panic" stops which may glaze over the new brake pads and cause them to be noisy and/or not perform as well. It's also a good idea to regularly check your driveway for drops of brake fluid which may indicate a leak, check the brake fluid level in the reservoir, and also check that the lug nuts are still properly tightened. Please
check out my other
2008-2012 Chevy Malibu Repair & Maintenance Guides. |
||
| If you found this guide to be helpful,
please consider making a small donation by clicking on the PayPal.com
"Donate" button located to the right of this paragraph. Thank you!
(Note: I am not a registered charity. Donations are not tax deductible.) |

