2008-2012
Chevrolet Malibu Headlight Bulbs Replacement Guide
How to replace the low / high beam, turn
signal & side marker bulbs in the headlight of a 2008 to 2012 GM Chevy
Malibu.
By Paul B. Michaels Author & Photographer Auto Mechanic Since 1989 |
||
| Replacing the
headlight bulbs in a 7th generation (2008-2012) Chevy Malibu does
require at least partially removing the front bumper in order to unbolt the
headlight assembly and access the bulbs. I've replaced headlight bulbs on
many vehicles and the 08-12 Malibu is by far the most time consuming one.
But it's not a difficult procedure if you follow the steps below.
|
||
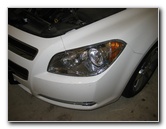 08-12 Malibu Headlight |
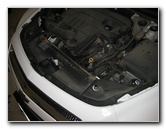 Black Plastic Radiator Cover |
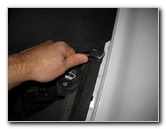 Remove 10mm Bolts |
| This
automotive maintenance "how-to" guide was specifically written to
assist owners of the 7th generation (2008, 2009, 2010, 2011 & 2012)
General Motors Chevrolet Malibu in replacing a burnt out low beam,
high beam, turn signal or front side marker bulb in the headlight
assembly. Owners of other related GM vehicles such as the Buick Regal, Buick LaCrosse, Saab 9-5, 9-3, Opel Insignia, Saturn Aura, Cadillac BLS, Fiat Croma, Opel Vectra, Signum and Pontiac G6 may also find these DIY instructions to be helpful. Replacement headlight bulbs for the 08-12 Malibu include the following with their part numbers: Low Beam # H11, High Beam H9, Front Turn Signal 4157NA, and Front Side Marker 168. The tools needed to complete this procedure include a 7mm socket, a 10 mm socket, a ratcheting wrench, a flat head screwdriver and a pair of needle nose pliers. |
||
|
|
||
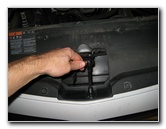 10mm Bolt By Hood Latch |
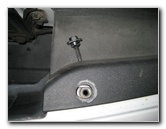 Different Bolts At Center |
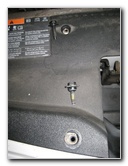 Two Types of Bolts |
| The first step is
to remove the eleven 10mm bolts and four black plastic pop rivets that hold
the radiator cover in place. Nine of the bolts are the exactly the same but there are two 10mm bolts with larger heads on either side of the hood latch mechanism near the front of the vehicle. |
||
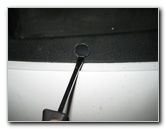 Pry Out Center of Rivet |
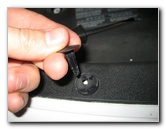 Pull Out Center of Pop Rivet |
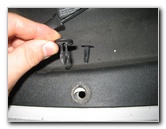 Pull Out Plastic Fastener |
| To remove the four black plastic pop rivets near the front edge of the radiator cover, pry out the center piece first with a flathead screwdriver and then pry out the outer piece from the cover. | ||
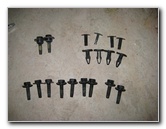 11 Bolts & 4 Plastic Fasteners |
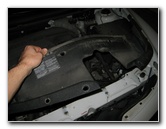 Remove Radiator Cover |
 Front Wheel |
| Once you are done
removing all of the bolts and pop rivets, set them aside in a safe place
such as a small parts case or in a Tupperware container. You should have 2
large head 10mm bolts, 9 regular head 10mm bolts, and four black plastic pop
rivets with their center pieces. Carefully lift off the radiator cover and set it aside in a safe place. |
||
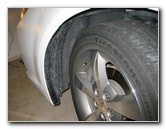 Turn Wheels To Left |
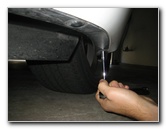 Remove 7mm Screws |
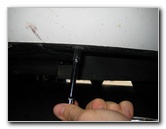 |
| To make more room
to work in the wheel well liner area, turn the steering wheel all the way to
the opposite side of your burnt out headlight bulb. Some people may choose to remove the wheel entirely for easier access to the wheel well liner. If you plan on replacing both headlight bulbs at the same time, it may be easier to just remove both front wheels and secure the vehicle with two jack stands. Move to the front of the vehicle and lay down beneath the front bumper. Locate the black 7mm screws along the black plastic underbody cover and remove them with a socket or wrench. There is also 1 black plastic rivet that needs to be removed per side of the underbody cover. If you are only replacing bulbs in one headlight assembly, you'll only need to remove 4-6 7mm screws and 1 pop rivet. |
||
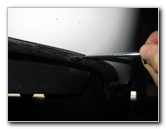 Pry Out Xmas Tree Fastener |
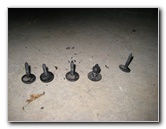 Four 7mm Screws & 1 Rivet |
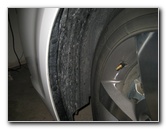 Wheel Well Liner |
| Next move to the wheel well liner and locate the black plastic pop rivets or "Christmas Tree" fasteners that hold it in place. | ||
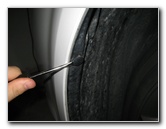 Pry Out Christmas Tree Rivets |
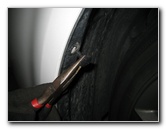 |
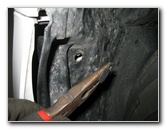 Pull With Needle Nose Pliers |
| There are three plastic rivets along the edge of the wheel well liner and one a few inches in towards the engine bay. | ||
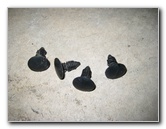 Four Wheel Well Clips Removed |
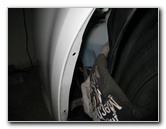 Pull Back Wheel Well Liner |
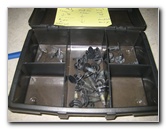 Organize Bolts & Screws |
| Once all four wheel
well fasteners have been removed, you can peel back the liner in order to
access the last two 10mm bolts that hold the bumper cover in place. Be sure to keep all of the bolts, screws and rivets organized for easy re-assembly later. |
||
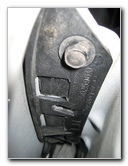 Front Bumper Cover Bracket |
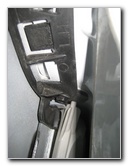 Two 10mm Bolts |
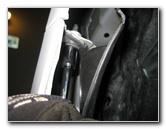 Remove 1st 10mm Bolt |
| There is one 10mm
bolt closer to the wheel well and another a few inches in towards the front
of the vehicle. The closest 10mm bolt needs to be removed entirely. The 2nd inner bolt only needs to be loosened a bit. |
||
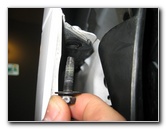 Outer Bolt Removed |
 Liner Propped Open |
 Loosen Inner 10mm Bolt |
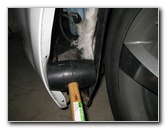
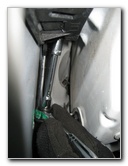
| To make it easier to remove the first bolt and loosen the inner bolt, prop open the wheel well liner with some rags, a rubber mallet or some other soft item that won't damage the body work. | ||
 Pull Off Side of Bumper |
 Inner 10mm Bolt Still In Place |
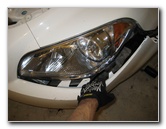 Pulling Off Bumper Cover |
| Once the bolt
closest to the wheel well has been removed and the inner bolt has been
loosened a few turns, you can gently pull the bumper cover away from the
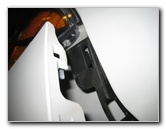
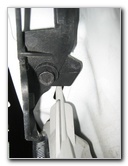
side of the vehicle. If the side of the bumper doesn't pull away with moderate force, you may need to loosen the inner 10mm bolt a few more turns. Try to avoid removing it entirely, since it may be difficult to re-insert. |
||
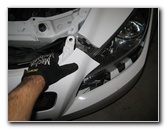 Pull Off Top of Bumper |
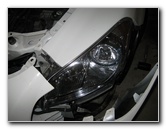 Headlight Bolts Accessible |
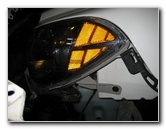 Side 10mm Bolt |
| Move to the front of the car and gently pull the bumper cover away from the headlight assembly. | ||
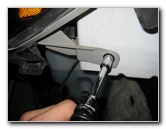 10mm Socket - Remove Bolt |
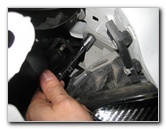 Remove Front Lower Bolt |
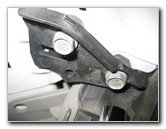 Two Silver Bolts - Bracket |
| The headlight
assembly is held in place by four 10 mm bolts.
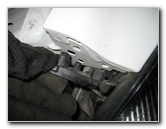
There is one black bolt on the side of the vehicle, one black bolt at the front of the headlight, and two silver bolts that hold a black plastic bracket in place just above the headlight lens. |
||
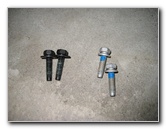 2 Black Bolts, 2 Silver |
 Pull Off Black Plastic Bracket |
 Pull Headlight Housing Off |
|
|
||
| Set the four 10mm
headlight bolts aside in a safe place, preferably with a Post-It note to
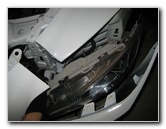
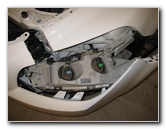
help you remember where they go during re-assembly. Pull off the black plastic bracket above the headlight. Now the headlight assembly can finally be pulled away from the front of the vehicle. Turn the headlight assembly upside down and gently rest it on the bumper. To help avoid scratching the plastic headlight lens or the painted surfaces of the vehicle, place a rag in between the headlight and the bumper. |
||
 Turn Headlight Upside Down |
 High Beam Bulb |
 1/4 Turn Counter Clockwise |
| The High Beam
bulb is located near the center line of the vehicle and has a light blue
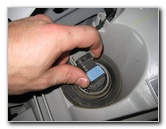
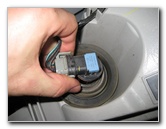
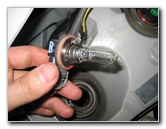
plastic label. Grasp the base of the bulb with your thumb and forefinger. Rotate the base 1/4 turn counter clockwise to unlock it from the assembly. Pull the bulb straight out of the headlight housing. |
||
 Pull Out High Beam Bulb |
 Pry Off Power Connector |
 Power Connector & Bulb |
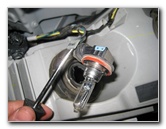
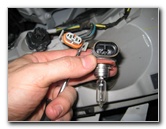
| Use a small flathead screwdriver to gently pry off the high beam bulb's power connector. | ||
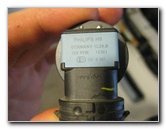 Philips H9 Bulb 12V 65W |
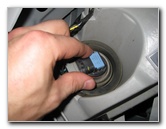 Insert New H9 Bulb |
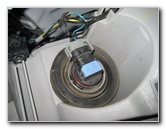 1/4 Turn Clockwise To Lock |
| Avoid touching the
glass part of the new halogen bulb. If you do touch the bulb or it gets
dirty, wipe it clean with a paper towel moistened with rubbing alcohol
before installing it. Insert a new H9 high beam bulb straight into the headlight housing and rotate the base 1/4 turn clockwise to secure it in place. |
||
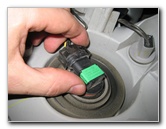 Low Beam Light Bulb |
 1/4 Turn Counter Clockwise |
 Pull Out Old Low Beam |
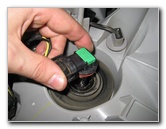
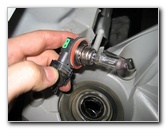
| The Low Beam
headlight bulb is located closer to the outside edge of the vehicle and has
a bright green plastic label. Rotate the base of the bulb 1/4 turn counter clockwise before pulling it straight out of the headlight housing. |
||
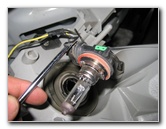 Pry Off Power Plug |
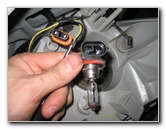 Power Plug & Low Beam |
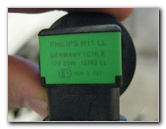 Philips H11 LL 12V 55W |
| Use a small flathead screwdriver to gently pry off the low beam's power connector clips and separate the bulb. | ||
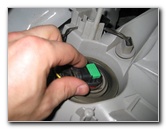 Insert New H11 Bulb |
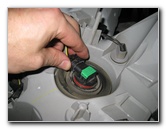 1/4 Turn Clockwise |
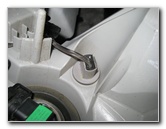 Sidemarker Bulb Socket |
| Insert a new H11 low beam bulb straight into the headlight assembly and rotate it 1/4 turn clockwise to lock it into place. | ||
 1/4 Turn Counter Clockwise |
 Pull Out Side Marker Bulb |
 # 168 Bulb |
| The Side Marker
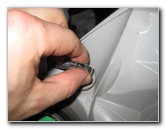
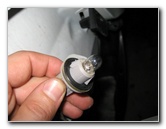
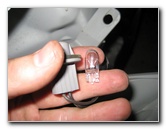
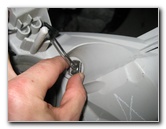
light bulb is located at the outer edge of the headlight assembly. Rotate the side marker light socket 1/4 turn counter clockwise and pull it straight out of the headlight. Pull the side marker bulb straight out of the socket and push in a new # 168 bulb. If you would like to have brighter side marker lights, install some compatible replacement 168 LED bulbs. Insert the bulb and socket back into the headlight and rotate it 1/4 turn clockwise to secure it in place. |
||
 1/4 Turn Clockwise |
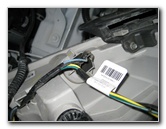 Turn Signal Bulb Socket |
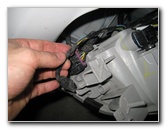 Pull Off Wire Loom |
| The turn signal
light bulb socket is located at the inner edge of the headlight assembly. Gently pull the wire loom away from the rear of the headlight to make some slack. Then rotate the turn signal bulb's socket 1/4 turn counter clockwise and pull it straight out of the headlight. |
||
|
|
||
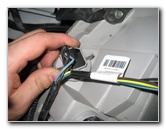 1/4 Turn Counter Clockwise |
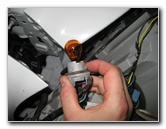 Pull Out Old Turn Signal Bulb |
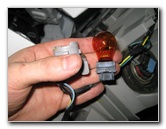 # 4157NA Turn Signal Bulb |
| Pull the old turn
signal light bulb straight out of the socket.
Push in a new # 4157NA (or 5702NAK) amber colored light bulb straight into the socket. Insert the turn signal socket back into the headlight and rotate it 1/4 turn clockwise to secure it in place. |
||
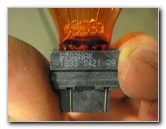 Alternate Bulb # 5702NAK |
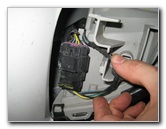 Re-attach Wire Loom |
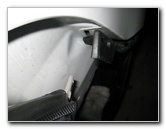 Line Up Plastic Spikes |
| Re-attach the wire
loom to the rear of the headlight housing. It would be a good idea to test the new light bulb(s) now before re-assembling the bumper. Turn the headlight back over and line up the plastic spikes on the rear with the holes in the car's metal body work. |
||
 Insert Peg Into Hole |
 Headlight Assembly Replaced |
 Tighten 10mm Side Bolt |
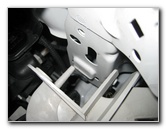
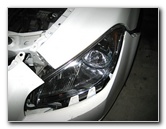
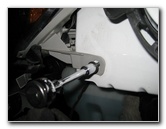
| Push the headlight
back into place until the plastic spikes are fully seated. Insert the black 10mm bolt on the side of the headlight and tighten it with the socket and ratcheting wrench. |
||
 Insert Black Front Bolt |
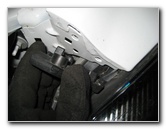 Re-Attach Black Bracket |
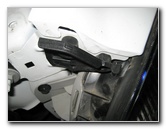 Black Bracket In Place |
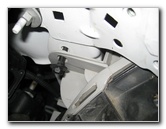
| Insert the 2nd
black 10mm bolt into the front of the headlight housing and tighten it. Re-attach the black plastic bracket in place over the top edge of the headlight. Insert and tighten the two silver 10mm bolts. |
||
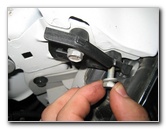 Insert 2 Silver 10mm Bolts |
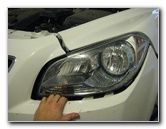 Line Up Front Bumper |
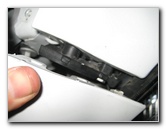 Lower Bumper Over Bracket |
| Line up the front
of the bumper and gently push it towards the vehicle. Lower the top part of the bumper over the black plastic bracket until the bumper is flush with the quarter panel. |
||
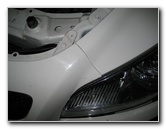 Top Of Bumper In Place |
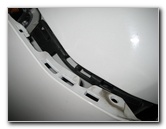 Insert Bumper Side Over Bracket |
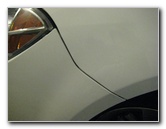 Side of Bumper Installed |
| Next insert the side of the bumper over the black plastic bracket by the wheel well. | ||
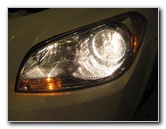 Test New Headlight Bulbs |
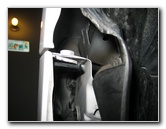 Line Up Bumper & Bracket |
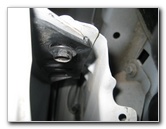 Insert Closer 10mm Bolt |
| If you haven't
already, test the new headlight bulb(s) before continuing the re-assembly
process. Pull aside the wheel well liner and insert the 10mm bolt back into the closest hole. Tighten the closest 10mm bolt and also the other one located a few inches forward of the wheel well. |
||
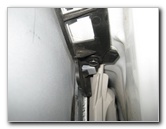 Further 10mm Bolt |
 Tighten Both 10mm Bolts |
 Wheel Well Liner |
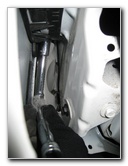
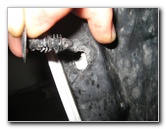
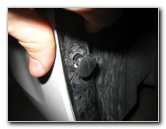
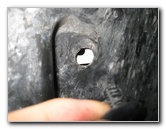
| Line up the black plastic wheel well liner with the holes in the bumper cover and re-insert the Xmas tree fasteners. | ||
 Insert Plastic Pop Rivets |
 Line Up Liner & Hole |
 Bottom Of Bumper |
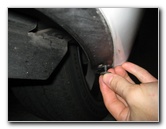
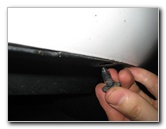
| Push all four black plastic pop rivets firmly into the wheel well until they are flush with the liner. | ||
 Insert Xmas Tree Fastener |
 Insert 7mm Screws |
 Tighten 7mm Screws |
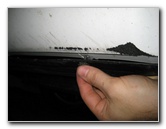
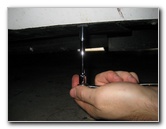
| Move to the underbody cover located below the bumper and insert the 7mm screws. Tighten the 7mm screws and re-insert the black plastic pop rivet fastener. | ||
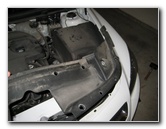 Replace Plastic Radiator Cover |
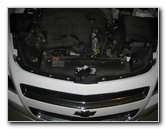 Replace 11 Bolts & 4 Rivets |
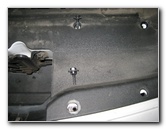 2 Large Bolts - Front Center |
| Place the black
plastic radiator cover back over the top of the engine bay.
Replace the 9 standard 10mm bolts, the 2 large head 10mm bolts (front center near hood latch), and the 4 black pop rivets (front edge). |
||
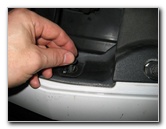 10mm Bolt By Latch |
 4 Pop Rivets - Front Corners |
 Insert Center of Rivet |
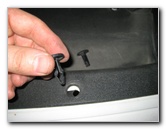
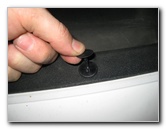
| To re-install the black plastic pop rivets, first insert the larger outer piece and then push in the smaller piece into the center. | ||
 Tighten 11 10mm Bolts |
 Re-Assembly Complete |
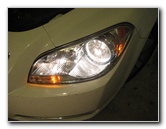 Test Low, High Beam, Signal |
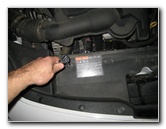
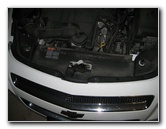
| Tighten all 11 of
the 10mm bolts and close the hood of the car to complete the job.
Be sure to record the bulb change in your vehicle's service records. Please
check out my other
2008-2012 Chevy Malibu Repair & Maintenance Guides. |
||
| If you found this guide to be helpful,
please consider making a small donation by clicking on the PayPal.com
"Donate" button located to the right of this paragraph. Thank you!
(Note: I am not a registered charity. Donations are not tax deductible.) |

