Chevrolet
Cruze Key Fob Battery Replacement Guide
How to change a weak battery in the key
fob remote control for a 2nd generation 2016 to 2019 GM Chevy Cruze.
By Paul B. Michaels Author & Photographer Auto Mechanic Since 1989 |
||
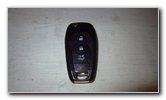 2018 Cruze Key Fob |
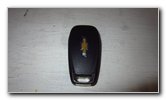 Back Side of Key Fob |
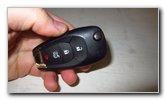 Chrome Silver Button |
| This automotive
maintenance tutorial was specifically written to assist owners of the second
generation 2016, 2017, 2018 and 2019 GM Chevrolet Cruze in changing a weak
or dead battery in the key fob remote control for the keyless entry system. Owners of other General Motors vehicles from Chevrolet, Buick, GMC, Cadillac and Holden such as the Sonic, Spark, Malibu, Impala, Volt, Bolt, Camaro, Corvette, Trax, Equinox, Blazer, Suburban, Tahoe, Traverse, Colorado, Silverado, Express, TrailBlazer, Encore, Regal TourX, Envision, Enclave, LaCrosse, Cascada, Sierra, Canyon, Acadia, Terrain, Yukon, Savana, XT4, XT5, XT6, Escalade, CT5, CTS-V, XTS, CT6, ATS, Astra and Commodore may also find these DIY instructions to be helpful. The compatible replacement coin cell (also known as a "button" or "watch") battery is part number CR2032 which is available from various manufacturers such as Sony, Duracell, Energizer, Panasonic and Maxell. The only tool that is required to complete this procedure is a small flat head screwdriver or a plastic pry bar tool. I recommend detaching the key ring and your other keys from the loop on the bottom of the fob for easier access to the battery. |
||
|
|
||
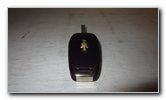
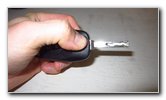 Release Ignition Key |
 Small Notch - Bottom |
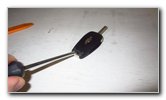 Insert Screwdriver |
| Press the chrome
silver colored button on the top left corner of the fob to release the
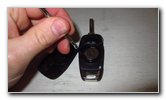
switchblade style swing out metal ignition key. Insert the blade of your flat head screwdriver or a plastic pry bar tool into the small notch at the bottom rear edge of the battery cover on the back side of the fob. Gently pry open the bottom edge of the battery cover. |
||
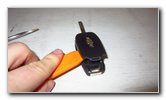 Pry Off Back Cover |
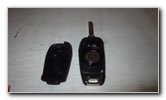 Old Battery Exposed |
 Pry Out Old Battery |
| You may need to
re-insert the screwdriver or a plastic pry bar tool in between the back
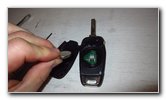
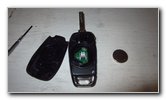
cover and the fob housing in several places to fully release the rear cover. Set the rear cover aside in a safe place. Use the small flat head screwdriver or your finger nail to carefully pry the old battery out of its socket. Try to avoid bending the metal electrical contacts or damaging the green circuit board by scratching it with the screwdriver. You could also try turning over the fob and tapping it on the table to dislodge the old battery from the holder. |
||
 Old Battery Removed |
 Empty Battery Socket |
 Sony CR2032 3V Cell |
| The OEM (original
equipment manufacturer) battery in this 2018 Cruze LT was a
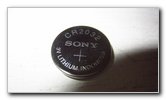
Sony CR2032 3 volt coin cell. The old battery might be covered with a bit of dielectric grease which helps ensure a reliable electrical connection. |
||
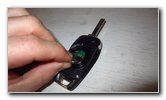 Install New Battery |
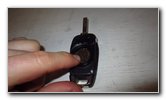 "+" Positive Side Up |
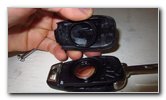 Line Up Back Cover |
| Orientate the new
battery with the blank "-" negative side facing down into the socket and the
"+" positive side with the part number and brand name facing up towards you. Push the new CR2032 battery into the socket until it is fully seated. Line up the back cover with the rear of the fob. |
||
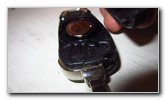 Tab & Notch - Top |
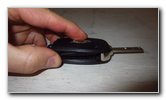 Attach Top Edge First |
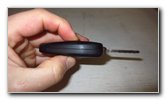 Snap On Rear Cover |
| Re-insert the tab
at the top edge of the back cover into the slot at the top of the fob near
the metal ignition key. Then lower the bottom of the cover towards the loop for the key ring. Gently pop the cover on to the fob assembly to secure the retaining clips. |
||
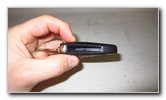 Cover Flush With Fob |
 Stand Near Vehicle |
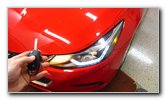 Testing Key Fob Battery |
| Make sure that the
back cover is flush with the fob at every edge.
To test the new battery, stand near the car and press the "Unlock" or "Lock" buttons. If the new battery is working properly, you should see the parking lights flash and hear the door locks opening or closing. (The key fob should not need to be reprogrammed. Simply replacing the battery should not clear the original programming.) Be sure to write down the key fob battery change in your vehicle's service records. For more, please check out all of my
2016-2019 GM Chevrolet Cruze DIY Repair & Maintenance Guides. |
||
| If you found this guide to be helpful,
please consider making a small donation by clicking on the PayPal.com
"Donate" button located to the right of this paragraph. Thank you!
(Note: I am not a registered charity. Donations are not tax deductible.) |

