Dodge
Challenger Front Side Marker Light Bulb Replacement Guide
How to change a burnt out front side
marker light bulb in a 3rd generation 2008-2015 Dodge Challenger with photos.
By Paul B. Michaels Author & Photographer Auto Mechanic Since 1989 |
||
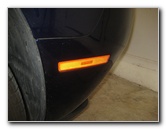 2015 Challenger Front Side Marker |
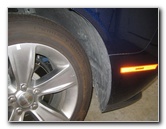 Wheel Well Liner |
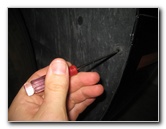 Push In Center of Fastener |
| This
automotive maintenance tutorial was specifically written to assist
owners of the third generation (2008, 2009, 2010, 2011, 2012, 2013,
2014, 2015 & possibly also the 2016 model year) Dodge Challenger in
changing a burnt out front side marker light bulb in the bumper
cover. Owners of other Chrysler, Dodge and RAM vehicles such as the Town & Country, 300, 200, Avenger, Charger, Journey, Dart, Durango, Grand Caravan, and Ram C/V Tradesman minivan may also find these DIY instructions to be helpful. This 2015 Challenger was equipped with an LED light that should last the life time of the vehicle. The replacement side marker light bulb for previous years is part number 168. You may also use any other miniature wedge base bulbs such as the # 158, W5W, 2825, 194 or a compatible LED unit. The tools needed to replace the bulb includes a small flathead screwdriver and possibly also a plastic pop rivet removal tool. |
||
|
|
||
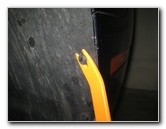 Pry Out Base of Fastener |
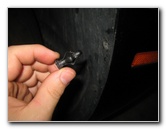 Plastic Fastener Removed |
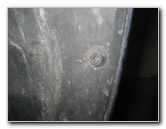 2nd Plastic Fastener |
| Even though this
2015 Challenger had an LED bulb side marker that will probably never burn
out, I thought I would show you how to replace the standard incandescent
bulb in the previous model years. (Tip - This is the same method for accessing and replacing a burnt out fog light bulb.) The first step is to locate the black plastic fasteners on the wheel well liner or "splash guard" in front of the tire. Gently push in the round center pin in the middle of each fastener to release them. |
||
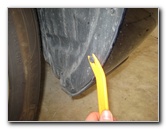 Plastic Pop Rivet Tool |
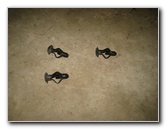 3 Fasteners Removed |
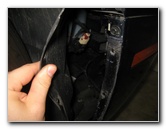 Pull Back Wheel Well Liner |
| Then carefully pry
out the base of the fasteners with the screwdriver or use a plastic
automotive panel pop rivet removal tool. Once all three fasteners have been removed, you can pull back the wheel well liner to access the side marker housing and the socket. |
||
|
|
||
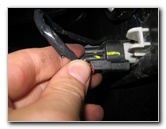
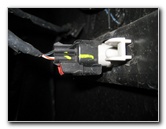 Black Electrical Connector |
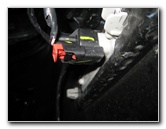 Red Plastic Lock Tab |
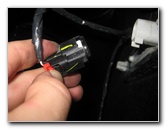 Power Plug Disconnected |
| The steps for the
earlier third generation Challenger models are as follows. Rotate the base of the bulb socket 1/4 turn counterclockwise and pull it straight out of the housing. |
||
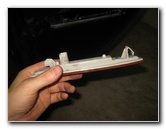 Light Housing Removed |
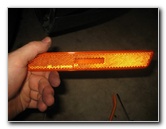 |
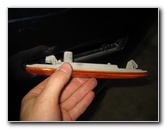 |
| Pull the old bulb
straight out of the socket. Push in a new # 168 bulb. You can also use any other miniature wedge base bulbs such as the # 158, W5W, 2825, 194 or a compatible 168 LED unit. |
||
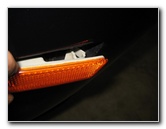 |
 |
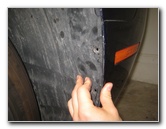 Replace Wheel Splash Guard |
| Re-insert the
socket in to the housing and rotate it 1/4 turn clockwise to secure it in
place. Push the wheel well liner back in to place. Make sure that the pins in the center of the fasteners are popped out above the larger base. Re-insert the fasteners and then gently pop in the pins until they are flush with the base to lock them. For more,
check out my other
2008-2015 Dodge Challenger DIY Repair & Maintenance Guides. |
||
| If you found this guide to be helpful,
please consider making a small donation by clicking on the PayPal.com
"Donate" button located to the right of this paragraph. Thank you!
(Note: I am not a registered charity. Donations are not tax deductible.) |

