Ford Fusion
Headlight Bulbs Replacement Guide
How to replace the low beam, high beam
and turn signal bulbs in the headlight of a 2006-2012 Ford Fusion sedan.
By Paul B. Michaels Author & Photographer Auto Mechanic Since 1989 |
||
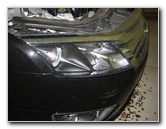 Ford Fusion Headlight |
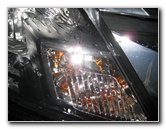 Turn Signal Bulb - Corner |
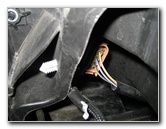 Turn Signal Socket |
| This automotive
"how-to" guide was specifically written to assist owners of the 2006, 2007,
2008, 2009, 2010, 2011 and 2012 Ford Fusion in replacing a burnt out low beam,
high beam and turn signal bulb in the headlight assembly. Owners of other Ford, Lincoln or Mercury vehicles such as the Fiesta, Mustang, Focus, Taurus, Flex, Edge, Expedition, Escape, Ranger, F-150, MKZ, MKS, MKX, MKT, Navigator, Milan, Grand Marquis, Mariner, and Mountaineer may also find this DIY instruction guide to be helpful. Replacement headlight bulbs for the '06-'12 Fusion with their respective part numbers are as follows: Low Beam # H11, High Beam # H7, and Turn Signal # 3457A.Tools required: Turn Signal - none, Low Beam - flathead screwdriver or panel tool, High Beam - socket set and wrench. |
||
|
|
||
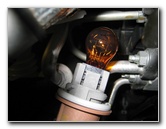 1/4 Turn Counter Clockwise |
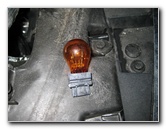 Pull Out Turn Signal Bulb |
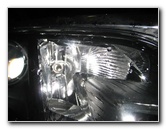 High Beam Bulb - Center |
| The Turn Signal
light bulb is located at the inner corner of the headlight assembly closest
to the center line of the vehicle.
To replace it, reach behind the headlight and locate the tan / light orange turn signal light bulb socket. Rotate it 1/4 turn counter clockwise and pull the bulb out of the headlight assembly. Pull the old # 3457A amber colored turn signal bulb straight out of the socket. Push in a new # 3457A bulb into the socket, re-install the bulb into the headlight assembly and rotate the socket 1/4 turn clockwise to lock it in place. |
||
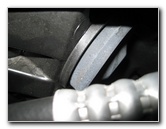 Rubber Dust Cap |
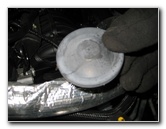 High Beam Cover Removed |
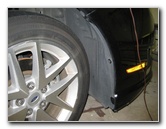 Wheel Well Liner |
| The High Beam
headlight bulbs are located at the center of the headlight assembly.
To access the driver side high beam bulb requires removing the air box. To access the passenger side headlight bulb, remove the washer fluid fill hose by removing the single 7mm bolt. Pull off the black rubber dust cap from the rear of the headlight assembly. Rotate the base of the high beam bulb 1/4 turn counter clockwise and pull it out from the headlight. Use a flathead screwdriver to disconnect the power connector from the base of the bulb. |
||
|
|
||
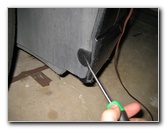 Remove Liner Fasteners |
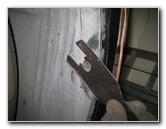 Using Panel Removal Tool |
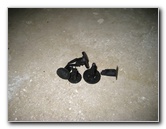 Black Plastic Fasteners |
| The easiest way to
access the Low Beam headlight bulb located at the outer edge of the
assembly, is by going through the wheel well liner.
Turn the wheels all the way in the opposite direction of the burnt out low beam. For example, if you need to replace the passenger low beam bulb, turn the steering wheel all the way to the left. Now that you have more room to work with the wheel turned out of the way, you can remove the black plastic wheel well liner fasteners. The fasteners can be removed with a flathead screwdriver by prying out the small center portion and then popping the larger outer part of the fastener with your fingers or a panel tool. |
||
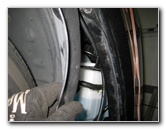 Pull Back Wheel Well Liner |
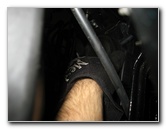 Reach In To Low Beam |
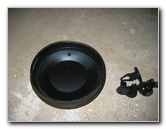 Low Beam Cover Removed |
| Once the wheel well
liner fasteners are removed, you can gently pull back the wheel well liner
and locate the low beam bulb's black rubber dust cap.
Pull off the dust cover and set it aside in a safe place. |
||
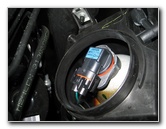 1/4 Turn Counter Clockwise |
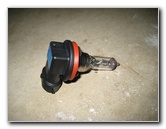 Low Beam Bulb Removed |
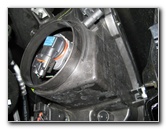 Install New H11 Bulb |
| Rotate the
black/blue base of the low beam bulb 1/4 turn counter clockwise and pull it
straight out of the headlight assembly. Separate the power connector from the base of the low beam bulb by gently prying off the retaining clips. Push a new # H11 low beam bulb on to the power connector, insert the bulb into the rear of the headlight assembly, and rotate it 1/4 turn clockwise to lock it in place. |
||
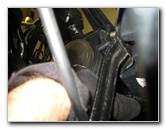 1/4 Turn Clockwise |
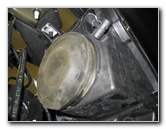 Replace Rubber Dust Cap |
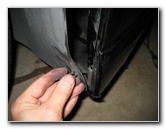 Replace Wheel Well Liner |
| Replace the rubber dust cap by pushing it into place. Re-install the wheel well liner fasteners by first inserting the larger outer piece and then push the smaller inner piece in place. | ||
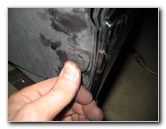 Re-Insert Fasteners |
 |
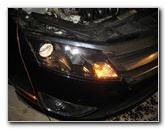 Test New Headlight Bulb(s) |
| Test the new bulb(s)
by turning on the headlights, activating the hazard lights and flashing the
high beams. For more,
please check out my
Ford Fusion Repair & Maintenance Guides page. |
||
| If you found this guide to be helpful,
please consider making a small donation by clicking on the PayPal.com
"Donate" button located to the right of this paragraph. Thank you!
(Note: I am not a registered charity. Donations are not tax deductible.) |

