Kia Optima Cabin Air Filter
Replacement Guide
How to clean or change the HVAC cabin air
filter element in a 3rd generation 2011 to 2015 Kia Optima with photos.
By Paul B. Michaels Author & Photographer Auto Mechanic Since 1989 |
||
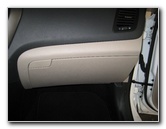 2013 Optima Glove Box |
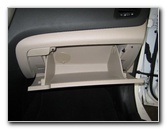 Open Glove Box |
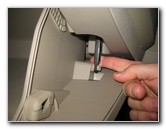 Glove Box Damper Arm |
| This
automotive maintenance tutorial was specifically written to assist
owners of the third generation (2011, 2012, 2013, 2014 & 2015) Kia Optima
in cleaning or changing the A/C system's cabin air filter element. Owners of other Kia and Hyundai vehicles with similar blower motor housings such as the Forte, Cadenza, Rio, Soul, Sedona, Sorento, Sportage, Sonata, Accent, Elantra, Veloster, Azera, Tucson, Santa Fe and Genesis may also find these DIY instructions to be helpful. A few compatible replacement cabin filters with their part numbers include the following: TYC 800157P, Fram CF11819, ACDelco CF177, Beck Arnley 042-2185, OEM CAF254P, Hastings AFC1359 and Kia 2TF79-AQ000. No tools are needed to change the cabin air filter. A wet/dry shop vacuum can be useful for cleaning the existing element. |
||
|
|
||
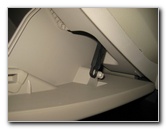 Pop Off Arm - Right Side |
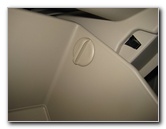 Right Side Wall Stop |
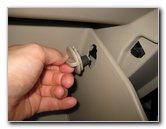 1/4 Turn Counter Clockwise |
| The first few steps
are to sit in the front passenger seat, open the glove box and empty out the
contents. Then move to the right side of the glove box and pop the black plastic damper arm off its mounting peg. Release the round plastic side stop on each interior side wall of the glove box by rotating them 1/4 turn counter clockwise before pulling them straight out. You may need to slightly raise the glove box in to the dashboard to release the tension and easily pull out the side stops. Set the two plastic / rubber side stops aside in a safe place. |
||
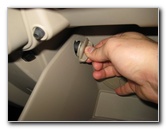 Remove Left Side Stop |
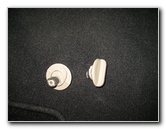 Two Side Stoppers Removed |
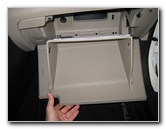 Lower Glove Box To Floor |
| Gently lower the glove box down to the floor. | ||
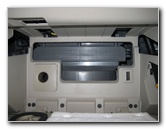 Cabin Filter Access Door |
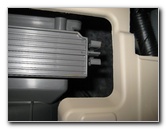 Retaining Clip On Right Side |
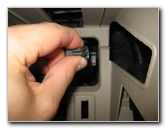 Pinch Together Two Tabs |
| Once you've lowered
the glove box, you'll see the rectangular black plastic filter access cover
on the blower motor housing. Pinch together the two tabs on the right side of the filter access cover to release the retaining clip. |
||
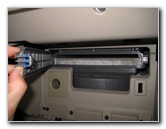 Swing Open To Left Side |
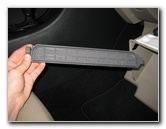 Pull Out Tab On Left Side |
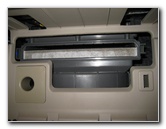 Old Cabin Filter Exposed |
| Swing open the
filter cover and pull out the tab on the left side from its slot. Behind the cover, you'll see the edge of the old cabin air filter. |
||
|
|
||
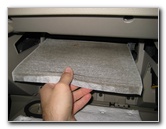 Slide Out Old Filter Element |
 Inspect Both Sides |
 Part # F784EB9AA |
| Slide the old cabin
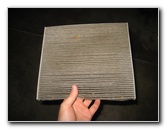
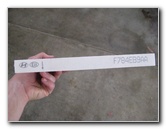
filter straight out of the slot in the blower motor housing. Make a mental note of how the "Air Flow" or "Down" arrow is situated on the old filter. The arrow should be pointing down towards the passenger floor mat. Inspect both sides of the old filter. If the old filter is relatively clean, just tap out the large debris and use a vacuum to remove any fine dust. If the old element is dark grey or black and clogged with dirt, dust, leaves, insects, leaves, hair and other debris, it should be replaced with a brand new filter. I recommend buying the TYC 800157P cabin air filter since it has excellent reviews on Amazon. If you've had problems with your A/C system smelling musty or moldy, try using the Fram CF11819 "Fresh Breeze" filter which has Arm & Hammer baking soda and carbon in it to help absorb odors. |
||
 Vacuum Clean OEM Filter |
 Empty Filter Slot |
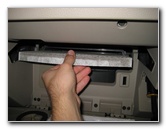 Slide In New Cabin Filter |
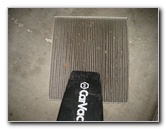
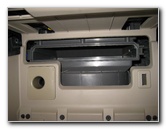
| If you have a
crevice attachment tool for your vacuum, clean out the filter slot in the
blower motor housing. Slide the new or cleaned filter straight in to the slot with the "Air Flow" or "Down" arrow pointing towards the floor. |
||
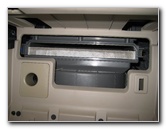 New Filter Installed |
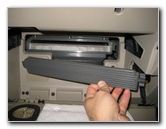 First Insert Tab On Left |
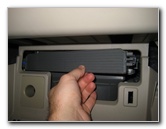 Swing Cover Closed To Right |
| Insert the tab on
the left side of the filter cover in to its slot. Swing the filter cover closed towards the right side. |
||
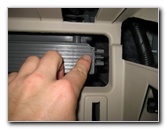 Push To Secure Clip On Right |
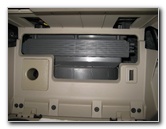 Filter Access Cover Replaced |
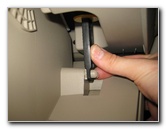 Pop On Damper Arm |
| Push on the right
side of the filter cover to secure the retaining clip. Double check that the filter cover is securely in place before moving on to the next steps. Raise the glove box up towards the dashboard. Move to the right side of the glove and push on the black plastic damper arm on to its mounting peg. |
||
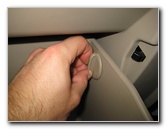 1/4 Turn Clockwise |
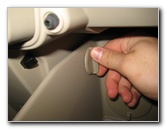 Replace Left Side Stop |
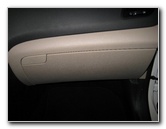 Close Glove Box |
| Slightly lift the
glove box in to the dashboard with one hand and re-insert the two side wall
stops. Rotate the side wall stops 1/4 turn clockwise to lock them in place. Close the glove box to complete the job. For more,
check out my other
Kia Optima Repair & Maintenance Guides. |
||
| If you found this guide to be helpful,
please consider making a small donation by clicking on the PayPal.com
"Donate" button located to the right of this paragraph. Thank you!
(Note: I am not a registered charity. Donations are not tax deductible.) |

