Mazda CX-9
Front Door Panel Removal Guide
How to remove the front door panel of a
Mazda CX-9 to add soundproofing, replace the speaker or the window motor.
By Paul B. Michaels Author & Photographer Auto Mechanic Since 1989 |
||
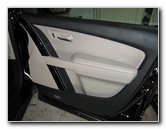 Front Door Interior Panel |
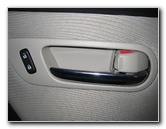 Door Handle & Lock |
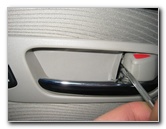 Pry Out Cover Behind Handle |
| This
automotive "how-to" guide was specifically written to assist owners
of the 1st generation (2007, 2008, 2009, 2010, 2011, 2012, 2013,
2014 & 2015) Mazda CX-9 crossover SUV in removing the front
interior door panel in order to add soundproofing, replace the front
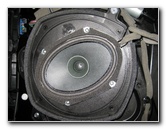
speaker, or replace the power window motor. Owners of other Mazda vehicles such as the MAZDA2, MAZDA3, MAZDA6, MX-5 Miata, RX-8, MAZDASPEED3, MAZDA5, Tribute SUV, and CX-7 crossover may also find this guide to be helpful. The tools needed to remove the interior door panels of a Mazda CX-9 include a small flathead screwdriver, a standard Phillips head screwdriver, a 10mm socket with an extension bar, a ratcheting wrench and either an automotive panel pry bar tool or a large flathead screwdriver. The OEM front door and rear door speakers are 6" x 8" but 5 1/4" speakers will also fit with an adapter bracket. |
||
|
|
||
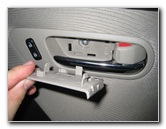 Door Handle Screw Cover |
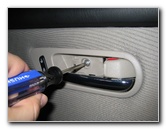 Remove Door Handle Screw |
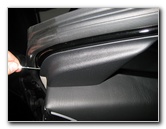 Pry Off Side View Mirror Panel |
| The first step is
to use a small flathead screwdriver to remove the rectangular trim piece
below the door handle that hides a Phillip head screw.
Remove the screw with a standard Phillip head screwdriver and set it aside in a safe place. |
||
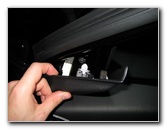 Side Mirror Access Panel |
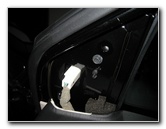 Side View Mirror Power |
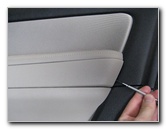 Pry Off Arm Rest Side Cover |
| Next gently pry off
the triangular trim piece just above the front top part of the interior door
panel that covers the side view mirror power connector and it's fastening
bolt.
In some vehicles, this plastic trim piece would house the tweeter speaker. |
||
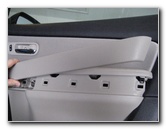 Pulling Off Armrest Trim |
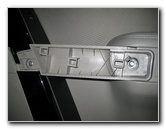 Two 10mm Bolts Exposed |
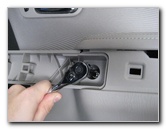 Loosen 10mm Armrest Bolts |
| Use the small
flathead screwdriver to pry off the long rectangular trim piece on the side
of the armrest.
Behind the trim piece on the side of the armrest, you'll see two 10mm screws. Remove them with a 10mm socket and extension piece on a ratcheting wrench. |
||
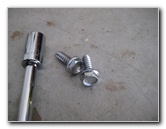 Two 10mm Bolts Removed |
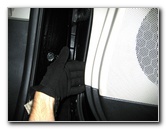 Gently Pull Off Door Panel |
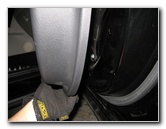 Releasing Door Fasteners |
| Insert either an
automotive panel removal tool or
a large flathead screwdriver in between the bottom edge of the door panel
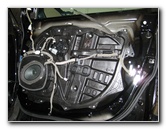
and the metal door frame. Then gently pull the lower part of the door panel away from the door frame to release the plastic friction or "Christmas Tree" fasteners. Don't pull too hard since there are several power connectors that need to be released along with the door handle and lock switch cables. |
||
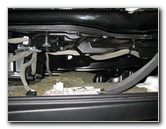 Power Wires & Door Cables |
 Release Lock & Handle Cables |
 Remove Power Connectors |
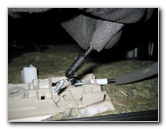
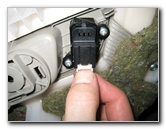
| Release the cables for the door handle and door lock switch by popping out the plastic section, rotating the cable towards the door frame, and lifting the small metal hook out of the door panel. | ||
 Power Door Locks Connector |
 Remove Courtesy Light Bulb |
 Push Bulb Socket Out |
| Remove the
electrical connector for the power door lock switch by pushing on the
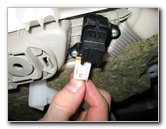
release tab and sliding it out of the socket.
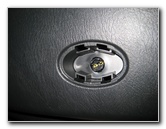
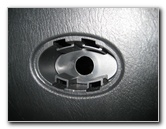
Remove the courtesy light bulb cover, remove the bulb, and push the bulb socket back through the rear of the door panel. |
||
 Power Window Connector |
 CX-9 Door Panel Removed |
 Stock OEM 6X8 Speaker |
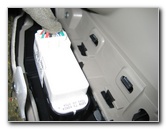
| Push the release tab on the power window switch electrical connector and pull it out of the socket. | ||
|
|
||
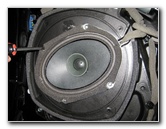 Remove Phillips Screws |
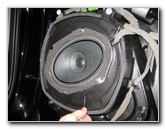 Pry Off Old Speaker |
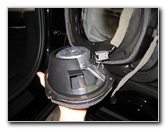 OEM Speaker Removed |
| To remove the OEM
6x8 speaker, unscrew the four Phillips head screws and gently pry it off the
door panel. I recommend buying new aftermarket speakers from Amazon since you can verify that the speakers will fit your car and whether or not you will need a mounting bracket. Push the release tab on the light grey speaker power connector and pull it off the rear of the speaker. To help reduce road noise and allow your new speakers to sound their best, apply some Dynamat Sound Dampener to the metal door frame. It will stop vibrations and rattles when you crank up the volume. |
||
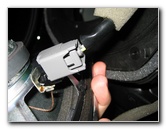 Release Speaker Power Connector |
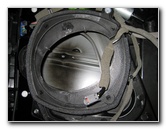 6X8 Speaker Hole |
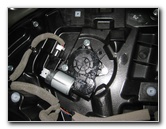 Power Window Motor |
| The power window motor is located just above the speaker and closer to the center of the door panel. | ||
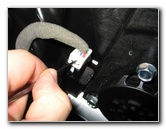 Release Power Connector |
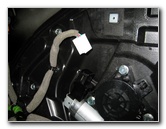 Window Motor Connector Out |
 Three 10mm Bolts |
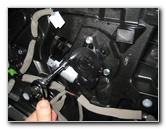
| Use the small
flathead screwdriver to depress the release tab on the power window motor
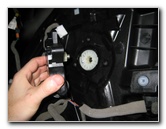
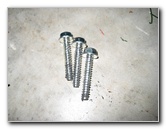
electrical connector before pulling it out of the socket. Remove the old power window motor by loosening the three 10mm screws with the socket and ratcheting wrench. |
||
 Remove Power Window Motor |
 3 Long 10mm Screws |
 Window Motor Mounting Point |
| Try to avoid
pushing on the round white plastic piece located behind the power window
motor.
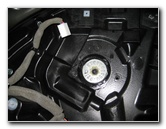
It might move out of place and the new window motor will be harder to install. If necessary, remove a few of the 10mm screws on the black inner door panel and hold the round white plastic power window cable reel in place from the other side while you push on the new power window motor. |
||
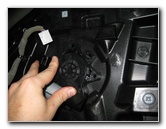 Install New Window Motor |
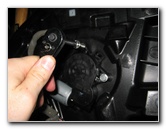 Tighten 3 10mm Screws |
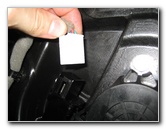 Re-Insert Power Connector |
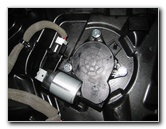 New Window Motor Installed |
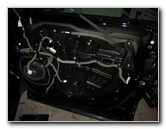 Line Up Door Panel |
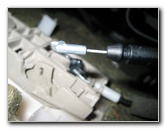 Re-Attach Handle & Lock Cables |
| Once you're done adding soundproofing material, replacing the OEM speaker, or replacing the power window motor, you can gently lower the panel back on to the door frame. | ||
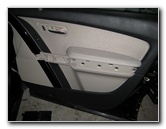 Lower Panel On To Door |
 Line Up Friction Fasteners |
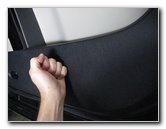 Push Plastic Fasteners In |
| Snap the courtesy
light bulb socket back into the bottom of the door panel, push in the power
window motor switch electrical connector, push in the power door lock
electrical connector and replace the door handle / lock cables. Move to the bottom of the door panel and line up the white plastic friction or "Xmas Tree" fasteners with the holes on the door frame before pushing them together. |
||
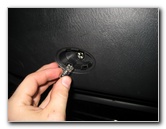 Replace Courtesy Light Bulb |
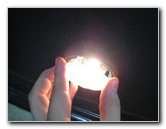 Replace Courtesy Light Cover |
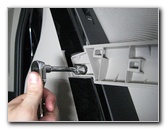 Tighten 10mm Armrest Screw |
| Push the courtesy light bulb back into the socket and replace the clear plastic cover. | ||
 2nd 10mm Armrest Screw |
 Line Up Armrest Trim Piece |
 Snap Armrest Cover In Place |
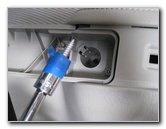
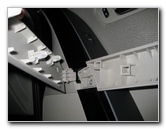
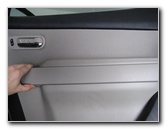
| Tighten the two
10mm screws into the side of the armrest. I found it easier to replace the
2nd 10mm screw in the deep well by using painter's tape to secure it to the
socket on an extension bar. Snap the trim piece on the side of the armrest back into place. |
||
 |
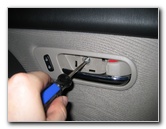 Tighten Door Handle Screw |
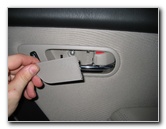 Replace Door Handle Screw Cover |
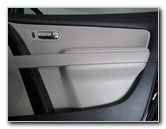
| Replace the Phillips head screw behind the door handle and snap the rectangular cover back into place. | ||
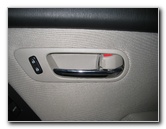 Screw Cover In Place |
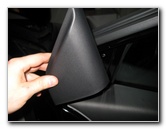 Replace Upper Trim Piece |
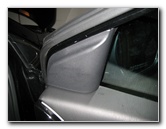 Side Mirror Access Panel In Place |
| The last step is to
pop the side mirror access panel back into place.
For more,
check out my
Mazda CX-9 Repair & Maintenance Guides page. |
||
| If you found this guide to be helpful,
please consider making a small donation by clicking on the PayPal.com
"Donate" button located to the right of this paragraph. Thank you!
(Note: I am not a registered charity. Donations are not tax deductible.) |

