
Pontiac Grand Prix Power Window Repair Guide
A picture illustrated vehicle maintenance manual for replacing the power window motor & regulator in any GM W-Body style car.
|
Main Menu Home Digital Cameras Misc. Pictures Articles My Blog |
 Next |
 Last |
|
 |
 |
|
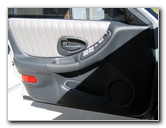
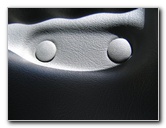
In these first two pictures you can see the driver's door with the window locked in the upright position and the two plastic covers that hide the Torx screws. Once you gently pry off the plastic covers with a flat head screwdriver, use a Torx T-27 screwdriver to remove the two screws. If your Torx T-27 screwdriver is not magnetic, expect the screws to fall down into the bodywork. You can get them later once the panel is off. |
|
 |
 |
|
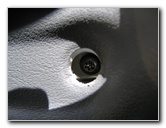
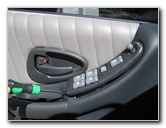
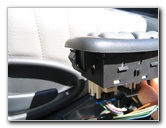
In the picture on the left you can see the Torx screw that is hidden behind the plastic covers. Once you get those screws out, pry up the master window switch by lifting it up from the back end where there is a clip holding it in place. The top of the switch by the power mirror control is held in place by a plastic piece that is delicate and will break if you're not careful. Notice the green screwdriver prying up the back end of the switch. |
|
 |
 |
|
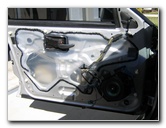
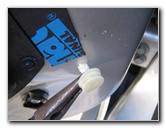
Remove all the connectors from the underside of the driver's master window switch by pushing on the tabs with a flat head screwdriver and gently rocking them out. Then you can pull off the door panel by exerting outward pressure on the door handle and pulling with your fingertips at the gaps that form around the panel. You may need to use an automotive panel removal tool. The panel is held in place by plastic clips. If you have never removed the panel before it might take you a few minutes to get a hang of it. The clips will look slightly messed up once they're out but you can always buy new ones at any auto parts store or just re-use them. Some of the clips may have remained on the car in
the metal. Just wiggle them out with your fingers or a pair of needle nosed
pliers.
|
|
 |
 |
|
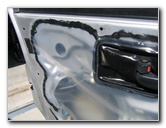
Once you have the door panel off, take out all the plastic plugs or clips that may have remained on the metal car door and put them back on the panel where they belong. Then you can move on to removing the plastic that covers the large access holes in the frame. |
|
 |
 |
|
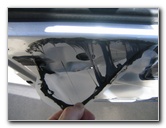
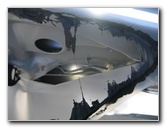
The plastic is held in place by a tar like adhesive. Make sure you keep the majority of this glue in the correct spots on the metal and the plastic. If your particular GM W-Body car doesn't have this gross tar adhesive, count yourself lucky. |
|
Main Menu Home My Digital Cameras Misc. Pictures Articles My Blog
 Home |
 Next |
 Last |