This automotive maintenance tutorial was specifically written to assist owners of the second generation (2017, 2018, 2019, 2020, 2021 and 2022) Mazda CX-5 SUV in checking, cleaning or changing the engine air filter element for the SkyActiv-G 2.5 liter inline four cylinder engine. (The procedure should be the same or very similar for the turbocharged 2.5L I4, the 2.0L I4 and the SkyActiv-D 2.2L diesel twin turbo engines.)
Owners of other Mazda vehicles such as the CX-3, CX-30, CX-7, CX-9, Mazda3, Mazda6, MX-30, MX-5 Miata, Mazda2, CX-4, CX-8 and BT-50 may also find these DIY instructions to be helpful.
A few compatible replacement engine air filters for the SkyActiv-G 2.5L N/A (naturally aspirated) I4 engine with their part numbers include the following: EPAuto GPA0A, EcoGard XA6280, Spearhead MT-259, Wix 49247 and Purolator A26280.
If you’d like to the have the OEM (original equipment manufacturer) filter, the part number is Mazda PE07-13-3A0A.
No tools are needed to access and replace the engine air filter.
A wet/dry shop vacuum may be useful for cleaning out the bottom half of the air box.

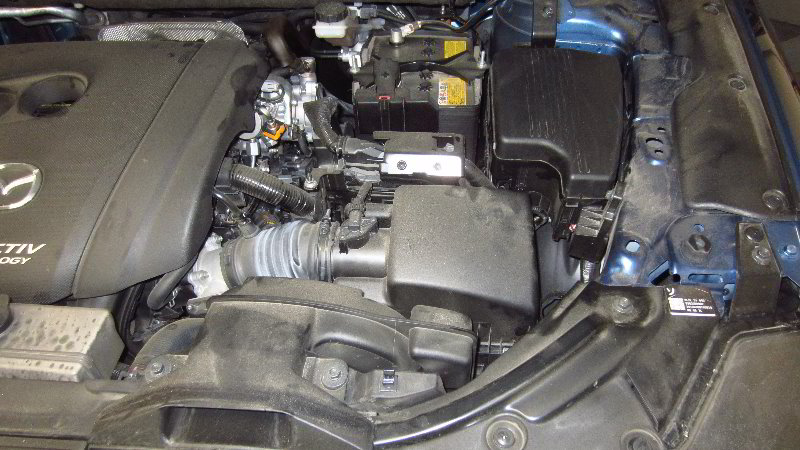
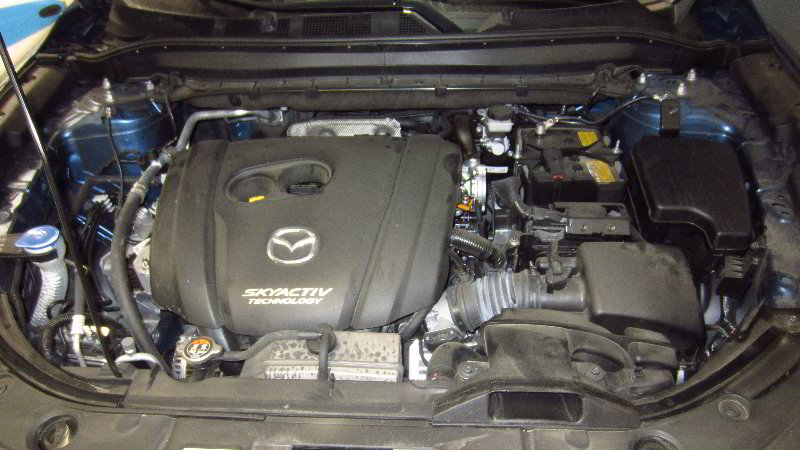
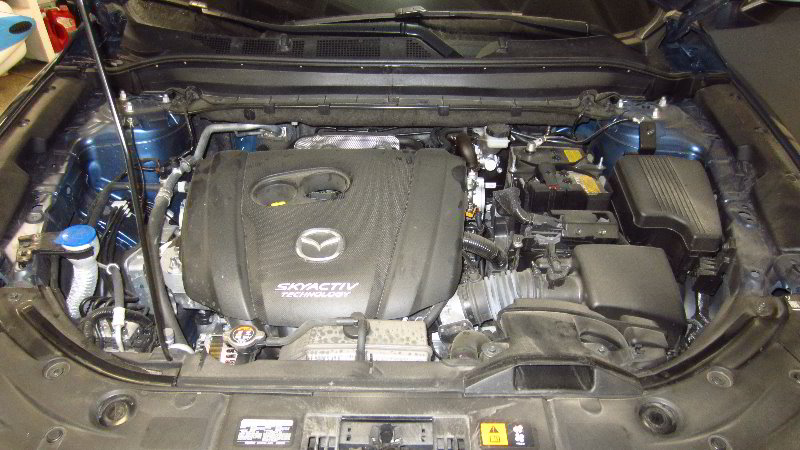
The first two steps are to open the hood and move to the right (driver) side of the engine bay.
The square black plastic air box is situated behind the driver side headlight assembly and in front of both the primary electrical fuse / relay box and the 12V automotive battery.
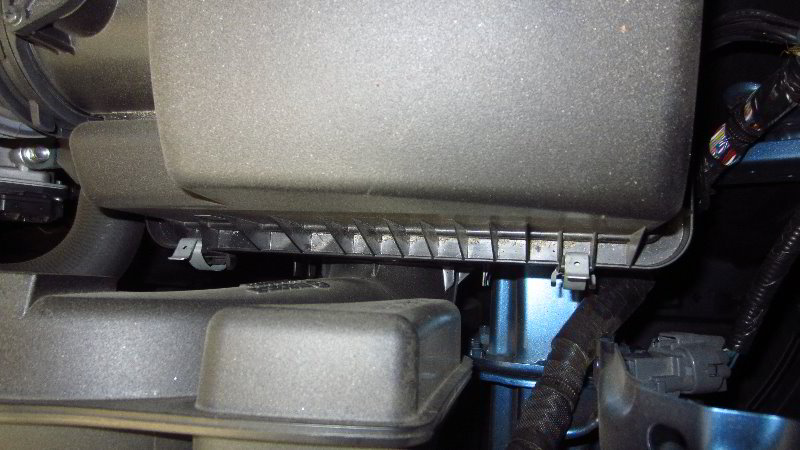
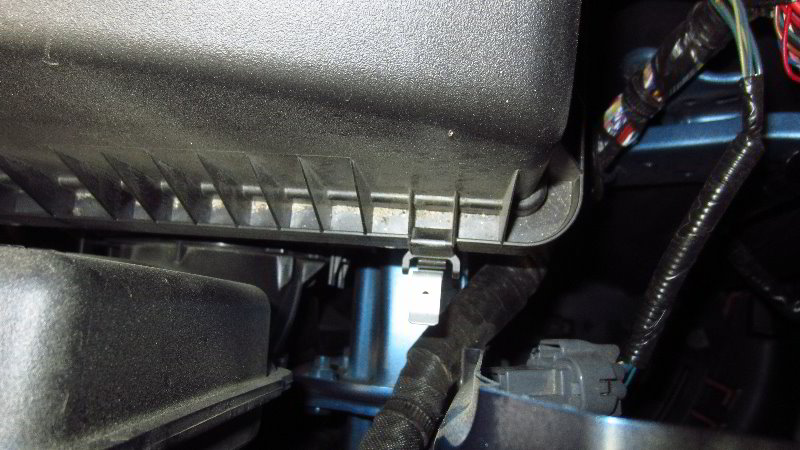
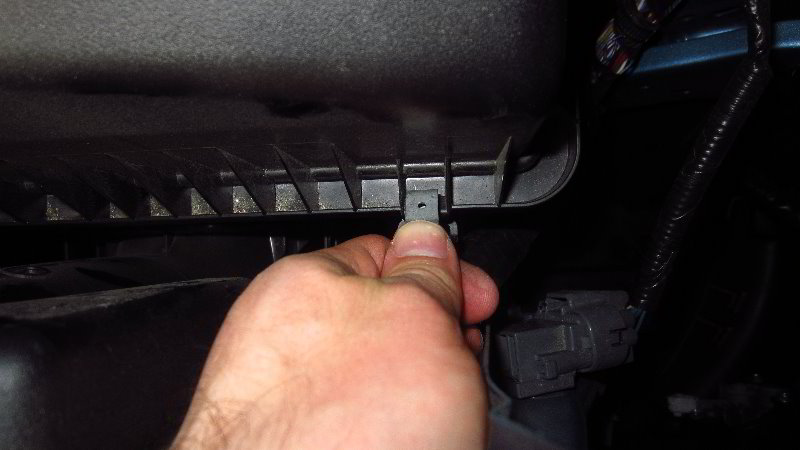
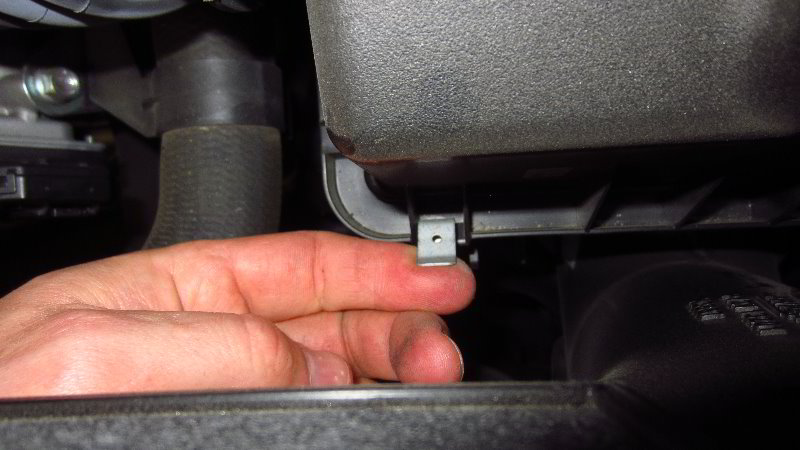
Locate the two silver metal latches on the front edge of the air filter housing (situated close to the driver side headlight).
One clip is located at the front left corner of the air box and the second clip is near the right front corner.
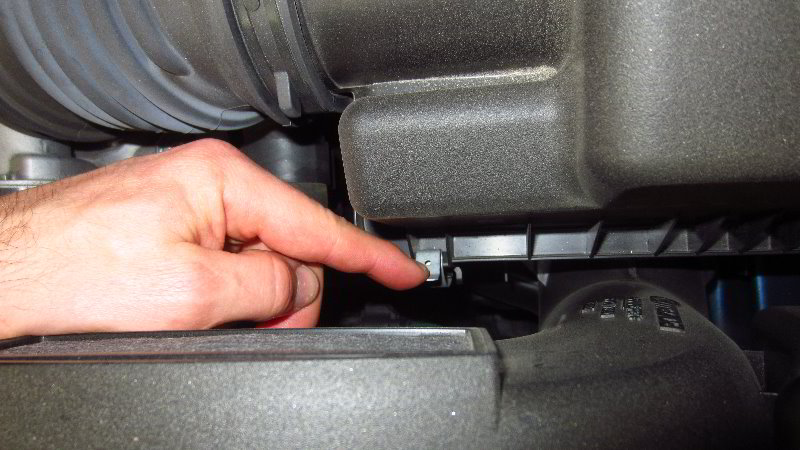
Gently pull the tab forwards to the front of the car and allow it to swing down away from the air box cover.
Repeat the process to release the other retaining clip.


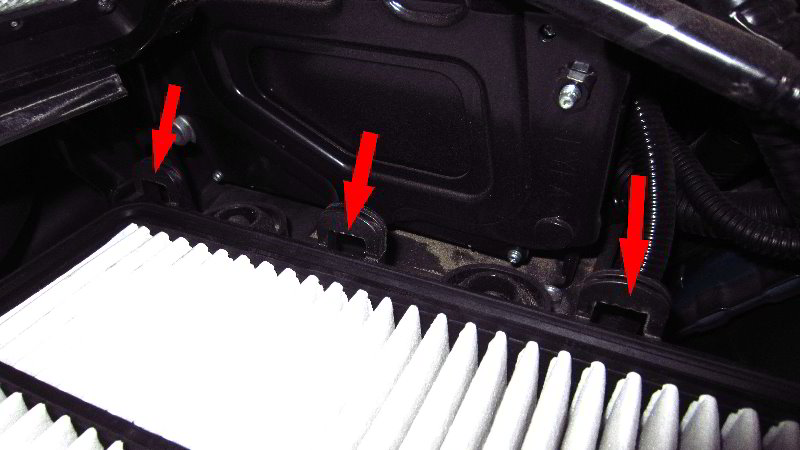
Once both metal latches have been released, slide the air box cover slightly forwards.
Sliding the cover forward will remove the three tabs on the rear edge of the cover from the three slots on the rear edge of the filter housing.
Lift open the cover to access the old filter.
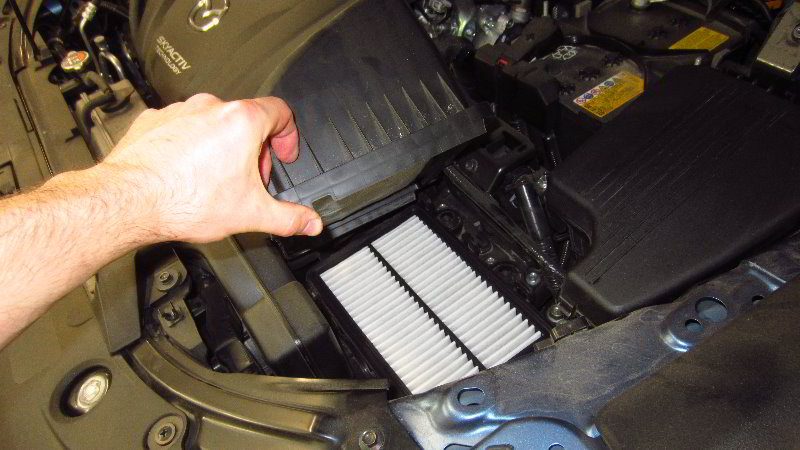

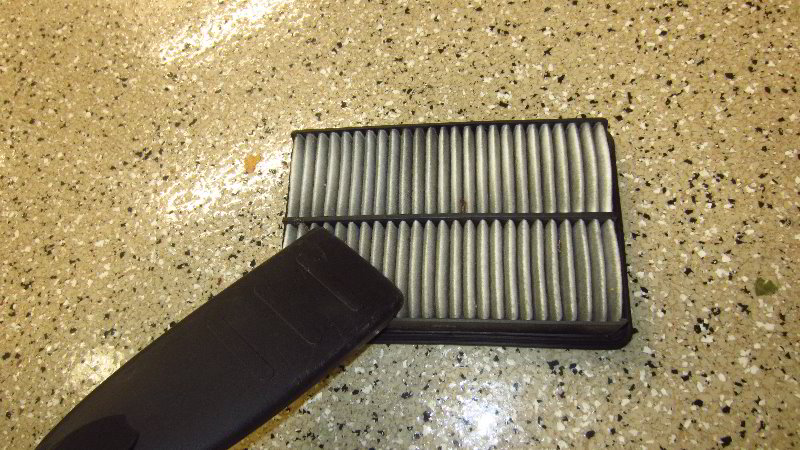
Pull the old filter straight out of the bottom half of the air box.
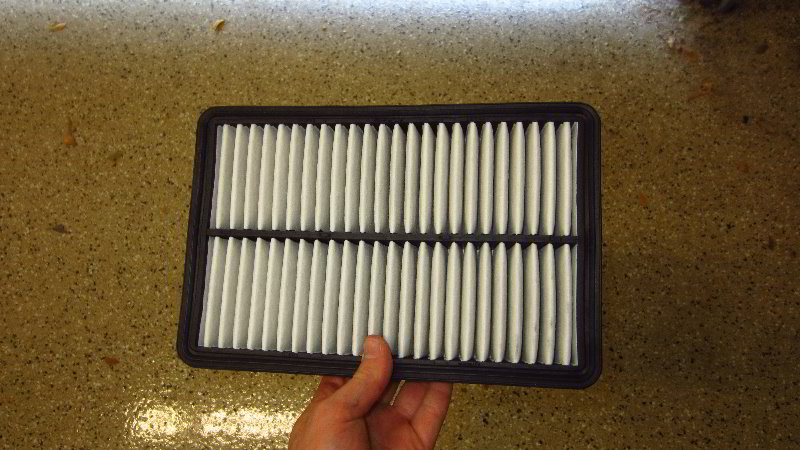
Inspect both sides of the old filter.
The OEM (original equipment manufacturer) filter part number is Mazda PE07-13-3A0A.
If the old filter is dark grey or black and clogged with dirt, dust, sand, pollen, hair, insects, soot, leaves and other debris, it should be replaced with a new element.
If the old filter is relatively clean, just tap out the large debris and remove any fine dust with a vacuum cleaner.

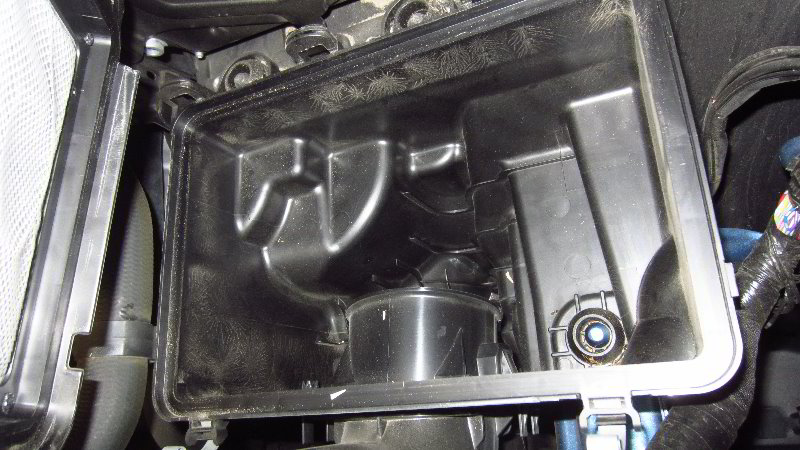
Check the bottom half of the air box for any sand or debris.
Clean out the air box with the crevice attachment of your wet/dry shop vacuum.

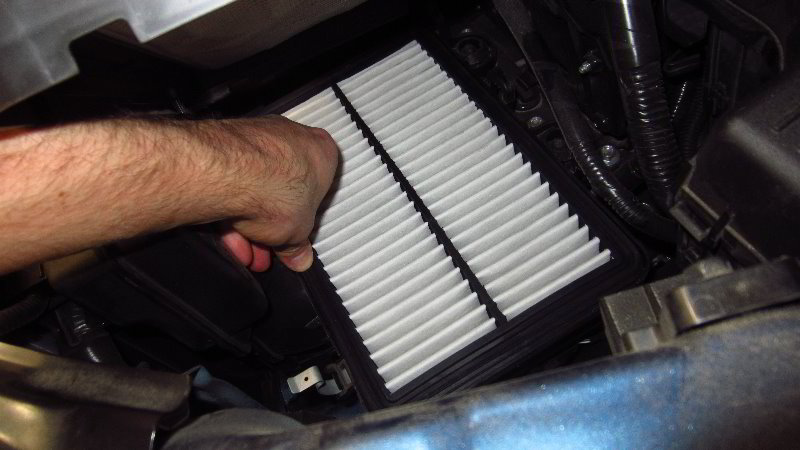
Orientate the new air filter with the rubber gasket facing up towards you and the exposed pleats facing down into the bottom half of the air box.
Lower the new filter down into the housing.
Make sure the new filter is fully seated in place.
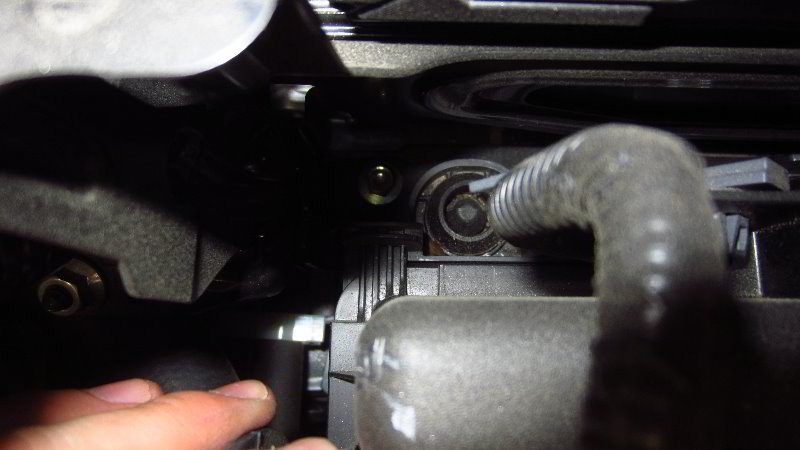
Take note of the three slots on the rear edge of the air box.
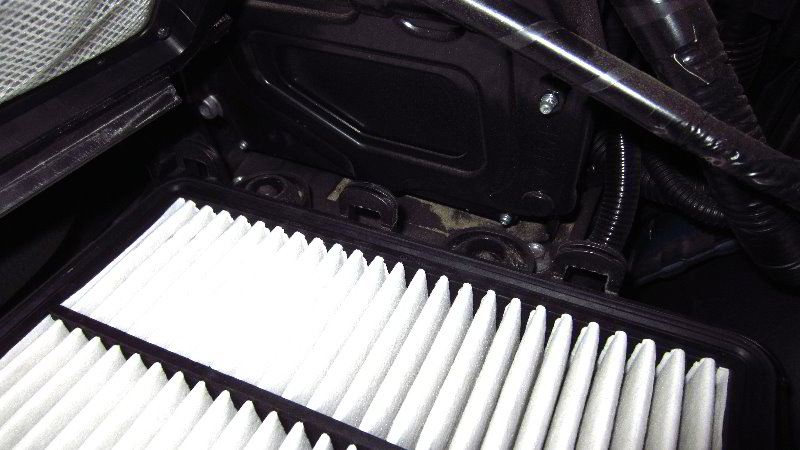
Lower the cover down over the new filter.
Slide the cover back to secure the three tabs into their three corresponding slots on the filter housing.

Flip up the two metal retaining latches towards the air box cover.
Snap the latches securely into place over the front edge of the cover.
You should hear or feel the two retaining clips “click” securely into place.
Double check that the two halves of the air box are flush together with no parts of the new filter visible at any edge.
According to the “Scheduled Maintenance” chart in the owner’s manual, the service interval specification for the engine air filter is to change it every 22,500 miles (36,000 km) or at least every 36 months (3 years).
Be sure to write down the filter change in your SUV’s service records.
Please check out all of my 2017-2022 Mazda CX-5 DIY Repair & Maintenance Guides.